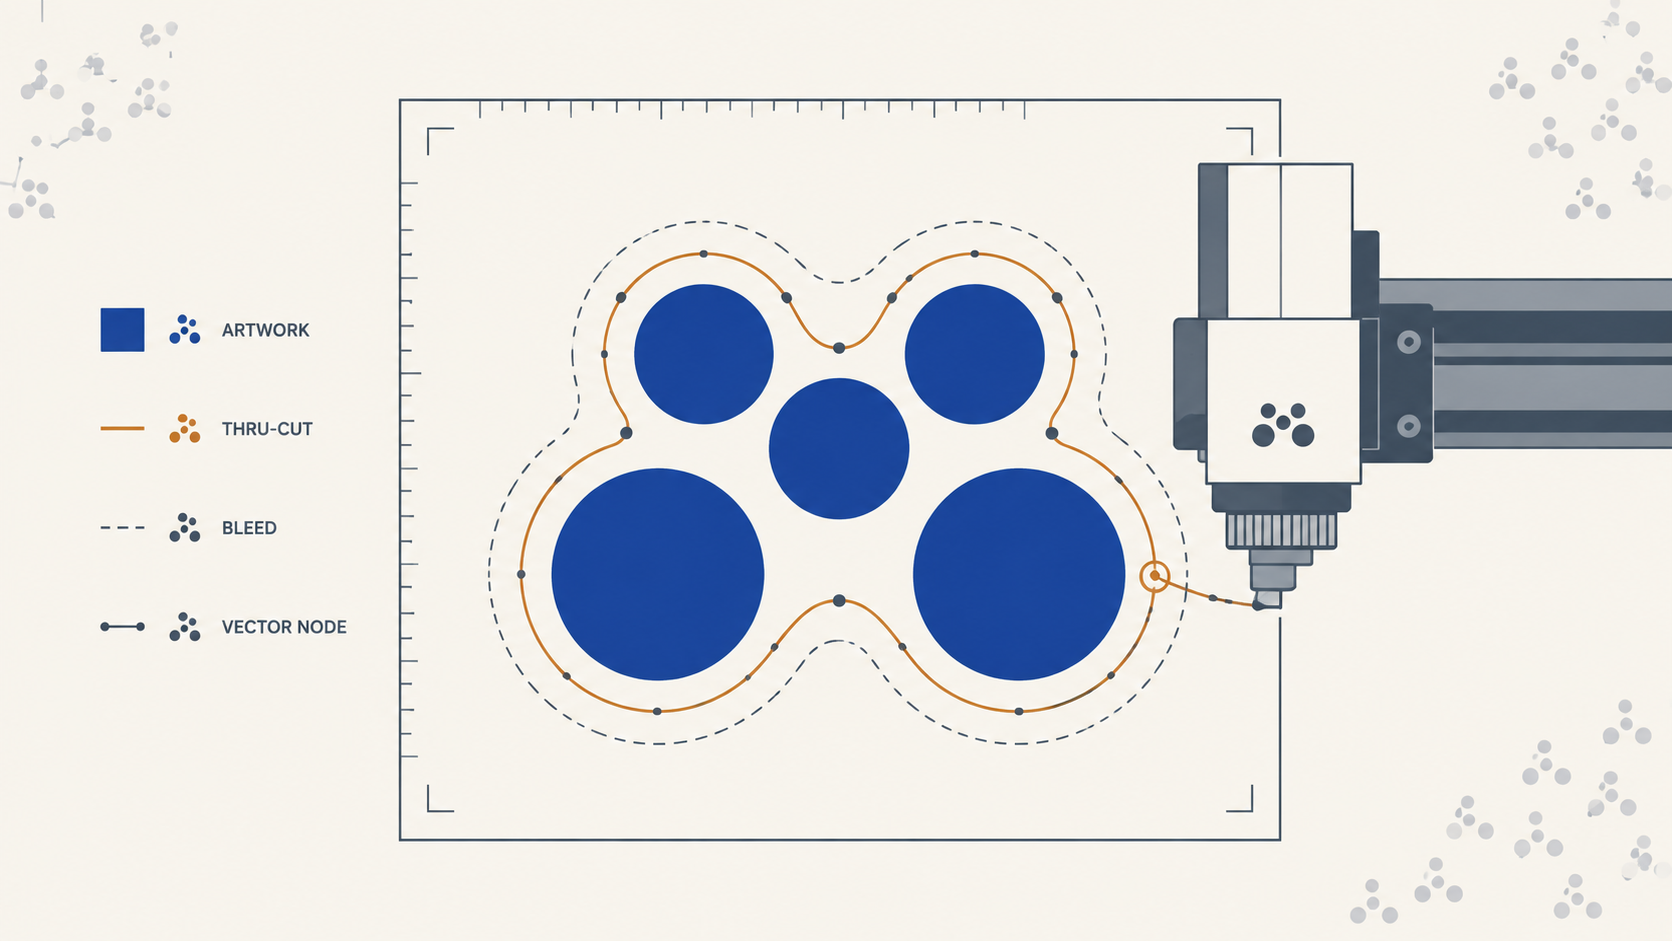
Sticker artwork is simple to get right and expensive to get wrong. A missing bleed, a cut line drawn as a fill, or an unoutlined font are the difference between a job that flows straight through production and one that bounces back with a preflight query, or worse, prints with a substituted font nobody catches until the box is opened.
This is exactly how to set up large format sticker artwork for us, straight from our file setup requirements. Follow it and the file goes to print first time.
The general setup, every sticker
These rules apply to every sticker file, standard shape or custom.
- Print-ready PDF. Supply your artwork as a PDF, with the document built at finished size.
- Trim box = finished size. Set the PDF trim box to the size you were quoted. This is how our system reads what the finished sticker should be.
- At least 3mm bleed. Extend any colour or artwork that reaches the edge at least 3mm past the trim, so a small cutting movement never leaves an unprinted sliver. Set the bleed in your document setup (3mm on all sides) so the bleed box carries through to the exported PDF.
- Outline all fonts. Convert every piece of text to outlines before export (Type > Create Outlines in Illustrator). Fonts occasionally fail to embed correctly in exported PDFs, and a file that previews fine can then print in a completely different font, or not print the text at all. Outlining removes that risk entirely.
- Colour in CMYK. Build the document in CMYK so what you approve is what prints.
If you want to verify a file before sending, open it in Acrobat, go to Print Production > Set Page Boxes, and check the TrimBox reads your finished size with the bleed sitting outside it. Two minutes of checking saves a back-and-forth later. (If the dimensions show as out by less than 0.1mm, do not stress, that is a known Acrobat display glitch and does not affect output.)
Simple shapes, clean edges
We custom cut stickers on our Zund digital cutters, and we offer simple shape cutting: clean circles, ovals, squares, rectangles with rounded corners, or straightforward outlines around your design. That keeps production fast and consistent, and it is what ensures every sticker peels and applies smoothly with clean, professional edges.
More complex or intricate shapes are not supported for large format stickers. They require slower cutting, and we cannot hold a high-quality edge with our tooling at that complexity. Keeping the shape simple is genuinely the better product, and if a design needs a wildly intricate outline, it usually needs a simplified cut path more than it needs a slower cutter.
Custom shapes: the Thru-cut setup
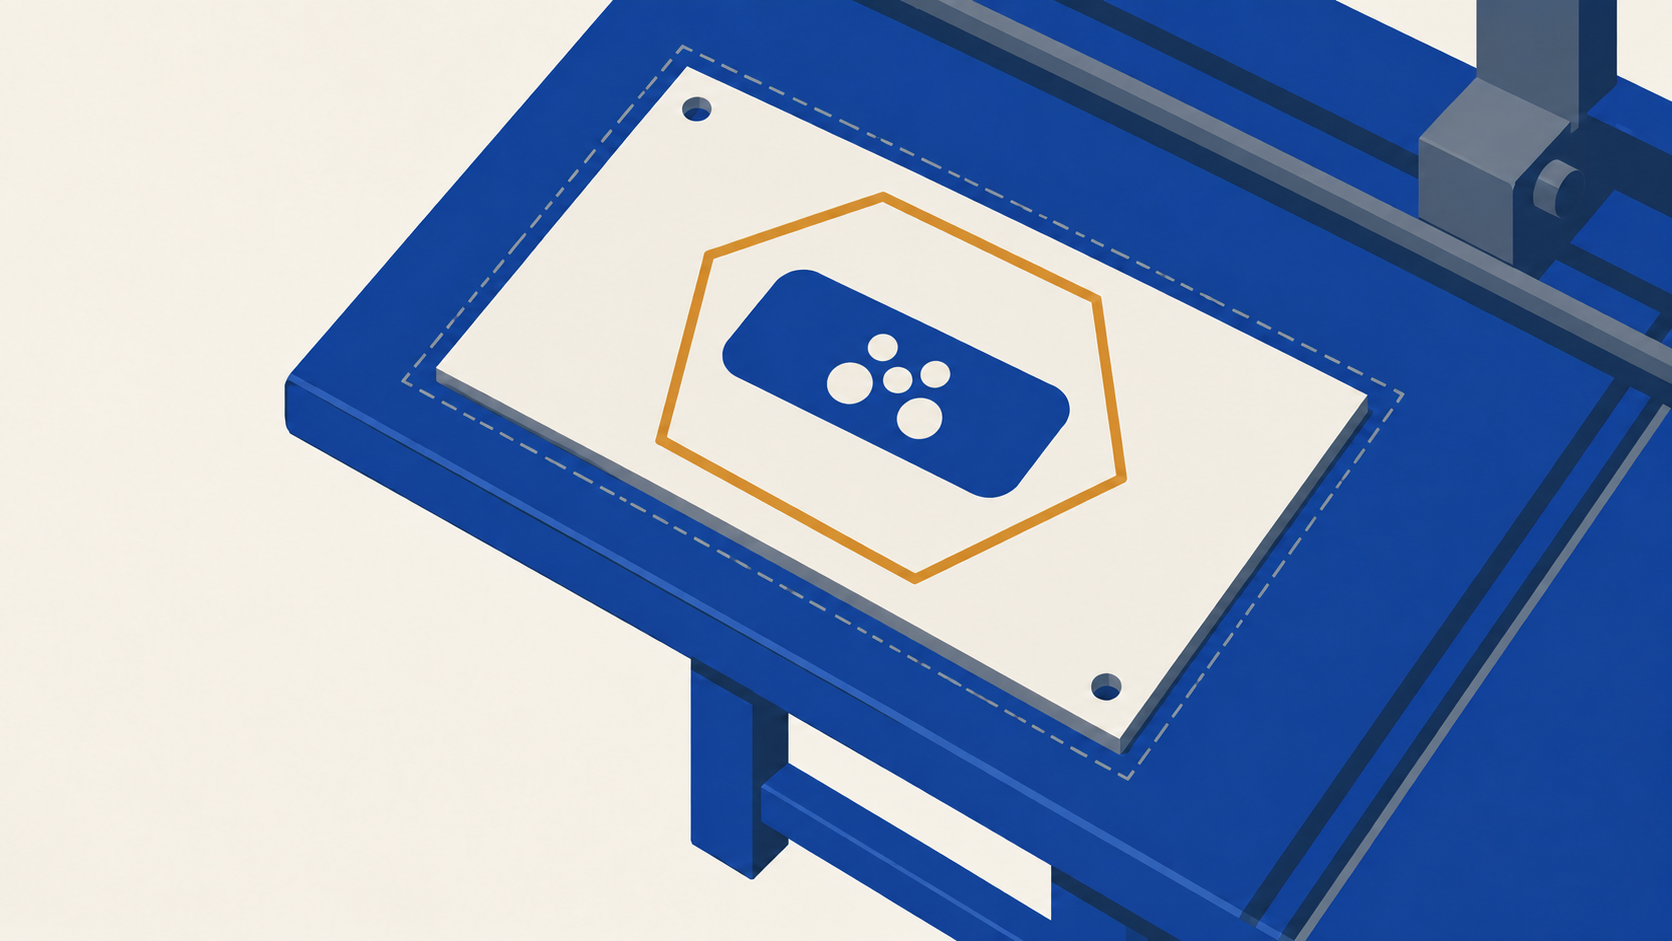
For anything beyond a standard rectangle, you supply the cut line in the artwork, and it has to be set up precisely so our system reads it as a cut rather than as printable art.
The requirements:
- A spot colour named exactly "Thru-cut". Create a new swatch, set the Colour Type to Spot Color, and name it Thru-cut with that exact spelling.
- Any CMYK value except white. Give the swatch any visible colour, just not 0,0,0,0. A 100% magenta is the common convention.
- Drawn as a stroke. The cut path is a stroke, and the stroke must be centre aligned (align stroke to centre, around 1pt weight).
- Closed shapes only. Every Thru-cut path must be a closed shape. Open paths cannot be cut.
- Always include the outer shape. Even if your design has inner cutouts, there must always be an outer Thru-cut stroke defining the sticker's outline.
- 3mm bleed past the Thru-cut. Extend your artwork at least 3mm beyond the Thru-cut stroke, exactly as you would past a trim edge.
- One Thru-cut per file. Each file contains one sticker with one cut. Multiple cuts or multiple items on a single sheet are not accepted, so if you have four shapes, supply four files.
The two errors we see most: the swatch named something like "thrucut" or "Cut line" instead of the exact Thru-cut spelling, and cut paths supplied as fills rather than strokes. Both stop the file at preflight, and both take thirty seconds to set up correctly the first time.
Keep the important stuff off the edge
Cutting is precise, but no cut is perfect to the micron, and a cut line that shifts fractionally will expose whatever sits hard against it. Two habits protect the artwork:
- Keep text, logos and critical content well clear of the cut line. A 5mm internal margin is a safe habit, the same discipline that protects label artwork.
- Avoid thin borders around the sticker edge. A narrow keyline hugging the outline is the single most reliable way to make a tiny cut movement visible, because the border ends up thicker on one side than the other. Either drop the border or make it generous.
Reversed stickers: one extra rule
If your job is a reversed sticker, applied inside glass and reading from the street, the artwork rule is simple: supply it right-reading, exactly as it should be seen from outside. The mirroring happens in production. Pre-flipping the file yourself is the classic mistake, because a double flip prints the job backwards. Everything else above applies unchanged.
Ordering labels instead?
Roll label artwork follows the same philosophy but slightly different specifics, including the white-ink setup for clear and silver stocks, so if the job is product labels rather than large format stickers, use our label artwork setup guide instead. If you are not sure which product the job actually is, the quick rule is products get labels, surfaces get stickers.
Pre-send checklist
- Print-ready PDF, document in CMYK
- Trim box set to finished size, 3mm bleed minimum on all sides
- Fonts outlined
- Simple shape (circle, oval, square, rounded rectangle, or a straightforward outline)
- Custom shape: spot colour named exactly Thru-cut, any colour except white, centre-aligned stroke (~1pt), closed shapes, outer outline always present, 3mm bleed past the cut
- One sticker, one cut, one file, no multi-item sheets
- Text and critical content kept well clear of the cut line, no thin edge borders
- Reversed stickers supplied right-reading, not pre-mirrored
Frequently Asked Questions
What file format do you need for sticker artwork? A print-ready PDF, built in CMYK, with the trim box set to the finished size, at least 3mm bleed, and all fonts converted to outlines. Outlining matters because fonts occasionally fail to embed in exported PDFs and can print substituted or not at all, even when the preview looks fine.
How do I set up a custom cut shape? Draw the cut path as a closed, centre-aligned stroke (around 1pt) in a spot colour named exactly Thru-cut, using any CMYK value except white. Always include the outer outline even if there are inner cutouts, extend your artwork 3mm past the cut line, and supply one sticker with one cut per file.
Can you cut any shape? We cut simple shapes: circles, ovals, squares, rectangles with rounded corners, and straightforward outlines around a design. Intricate or complex shapes are not supported for large format stickers because we cannot hold a clean, high-quality edge at that complexity, and edge quality is what makes a sticker peel and apply well.
Can I put several stickers on one sheet? No. Each file contains one sticker with one Thru-cut. Multiple cuts or multiple items on a single sheet are not accepted, so a job with several shapes is supplied as several files.
Why did my text print in the wrong font? Almost always because the fonts were not outlined and did not embed correctly in the exported PDF. The file can look perfect in preview and still substitute at output. Converting all text to outlines before export removes the possibility entirely, which is why we require it.
Do I need to mirror artwork for reversed stickers? No. Supply reversed sticker artwork right-reading, exactly as it should appear from the street, and we handle the mirroring in production. Pre-mirrored files get double-flipped and print backwards.
Key takeaways
- Supply a print-ready CMYK PDF: trim box at finished size, 3mm bleed, fonts outlined.
- Simple shapes only, circles, ovals, rounded rectangles and straightforward outlines, cut clean on our Zund cutters.
- Custom cuts need a spot colour named exactly Thru-cut: closed, centre-aligned stroke, any colour but white, outer outline always, 3mm bleed past it.
- One sticker, one cut, one file. Multi-item sheets are not accepted.
- Keep text well clear of the cut line and avoid thin edge borders.
- Reversed stickers are supplied right-reading; the mirroring is ours to do.
Send print-ready sticker artwork
Set up correctly, sticker files go straight through preflight and onto the cutter. Mediapoint prints trade-only, blind-shipped large format stickers UV on quality vinyls, cut clean on Zund digital cutters across permanent, removable, clear and specialty stocks. Check the sticker material guide to match the stock to the job, then send your print-ready PDF through for a quote.