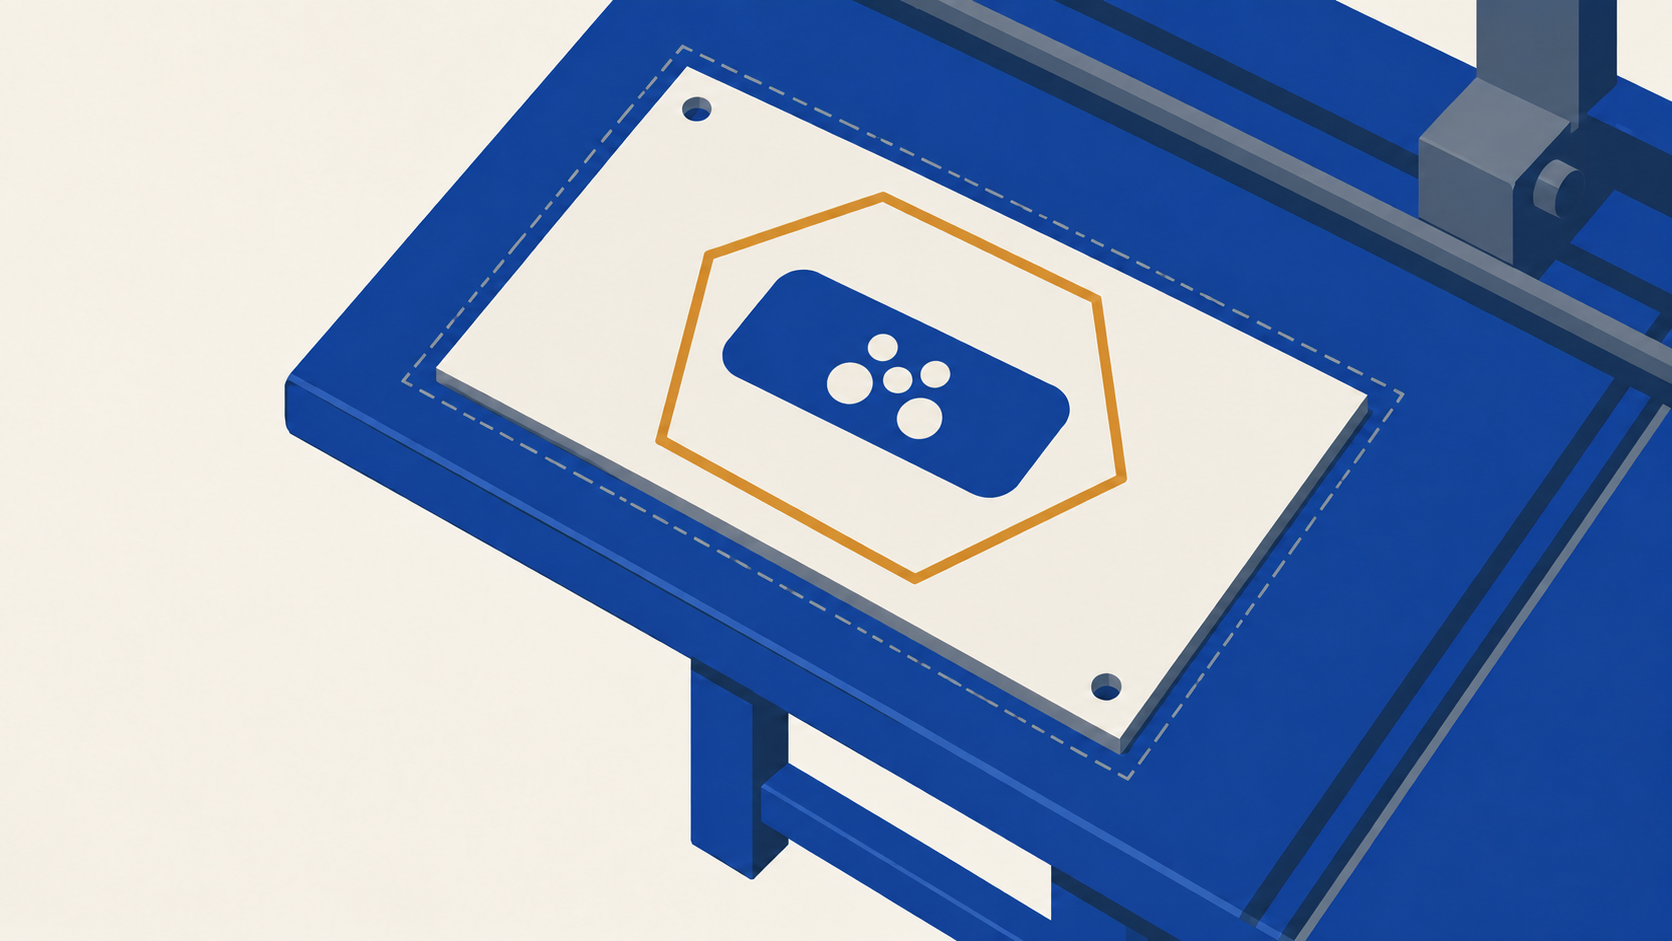
Rigid boards are the least forgiving product we print. A roll label or a PVC banner has some give in it; a 10mm KAPAPlast panel with a routed hole 4mm from the edge does not. Once a board is on the flatbed and the cutter is running, there is no trimming it down later without changing the finished size.
This guide covers how to set up artwork for every rigid board we print: foamed PVC, KAPAPlast, corflute and ACM. The file rules are the same across all four. The differences are in what shapes each material can actually be cut into, and that is where most reprints come from.
The file rules that apply to every board
These are the same whether you are sending a 600 x 400mm foamed PVC sign or a 2400 x 1200mm double-sided ACM panel.
PDF only, at 100% size. Build the document at the finished size of the board. Do not scale up from an A4 layout and do not send us a native Illustrator, InDesign or Affinity file. The PDF is what goes to the flatbed, and scaling introduces rounding errors that show up as a white sliver on one edge.
Trim box equals the finished size. The trim box in the PDF is what we cut to. If your document is 1200 x 600mm, the trim box must read 1200 x 600mm. Bleed sits outside it.
Bleed: 3mm single-sided, 5mm double-sided. Single-sided boards need 3mm of bleed past the trim box on all four sides. Double-sided boards need 5mm because the sheet is printed, flipped and printed again, and the two passes will not register to the tenth of a millimetre. The extra 2mm covers that shift so neither face shows a white edge.
All fonts outlined. Convert every piece of text to outlines before exporting. A font substitution on our end changes line breaks, and on a board with a 3mm tolerance there is no room to absorb that.
CMYK, with Pantone C for spot colours. Set the document to CMYK. If you need a brand colour matched, keep it as a named Pantone Coated (C) swatch rather than converting it to a CMYK build. We convert at the RIP, which gives a closer match than a manual conversion in your design app.
300dpi for raster images. Photos and rasterised effects should be 300dpi at 100% output size. A board is viewed closer than a banner, so lower resolution shows.
File size limit is 2GB. Large double-sided boards with full-bleed photography can get heavy. Flatten transparency and compress images to keep under the limit; the portal will reject anything larger.
Name the file with size and quantity. Something like ShopFront-1200x600-qty-4.pdf. It is checked against the order at prepress and catches the wrong file attached to the right order.
Custom shapes and the Thru-cut spot colour
Every rigid board we print can be cut to a custom shape, but the file needs to tell the cutter where to cut.
Draw the cut path as a stroke in a spot colour named exactly Thru-cut. Set it to centre-aligned on the path, keep it as a single closed path, and use one cut path per sheet. Any colour is fine except white. The stroke should be thin, around 1pt; it is a guide for the cutter, not part of the print, and it will not print.
Artwork still needs 3mm of bleed past the Thru-cut line, not just past the rectangular trim box. If the cut path runs inside the bleed, the edge of the shape will show substrate.
Keep the shape's finished size within the maximum sheet for that material. For foamed PVC and KAPAPlast that is 2400 x 1200mm.
Routed holes
If the board is going up on screws, standoffs or cable, we can rout holes into it at the same time as the cut. Two rules:
- Minimum hole diameter is 6mm. Anything smaller does not rout cleanly in foam-cored materials.
- Keep holes clear of the edge. A hole too close to the trim line leaves a thin web of material that cracks when the fixing goes in.
Mark hole positions on a separate layer using the same Thru-cut spot colour as a closed circle. Do not put a fill in the circle; the cutter reads the path, not the fill.
What each material can and cannot be cut into
This is where the boards diverge, and it is the most common cause of a file coming back from prepress.
Foamed PVC (3mm) is the most flexible. It handles custom shapes, including outlines with reasonable detail, and routed holes at 6mm and up. Read the foamed PVC guide for the full material scope.
KAPAPlast (5, 10 and 19mm) is a PU foam core with plastic-coated liners. It cuts cleanly into simple convex shapes only: up to five points, no concave sections, no inward notches, no V-cuts. A hexagon is fine. An arrow with a notched tail is not. If the job needs a detailed or concave shape, move it to foamed PVC. The KAPAPlast guide covers why the liners behave this way.
Corflute (3 and 5mm) cuts to custom shapes, but the flute direction matters for anything that needs to stay flat or fold. Set up the file so the long axis of the sign runs with the flutes unless the job specifically needs it the other way.
ACM routs and cuts cleanly to custom shapes and takes routed holes well. It is the material to reach for when the shape is detailed and the board is going outdoors.
Double-sided boards
Supply double-sided artwork as a two-page PDF: page one is the front, page two is the back. Both pages must be the same size, at 100%, with the same trim box and 5mm bleed. If the back is a mirror of the front, it still needs to be supplied as its own page; we do not auto-duplicate.
If the board has a Thru-cut shape, put the cut path on page one only. The cutter runs once, from the front.
Common mistakes we send back
- Bleed missing or set to 3mm on a double-sided board. The most frequent one. Check the double-sided bleed is 5mm before exporting.
- Text not outlined. Second most frequent.
- Thru-cut stroke in white, or as a fill, or named "Cut" instead of "Thru-cut". The spot name has to match exactly for the RIP to separate it.
- Concave or notched shapes on KAPAPlast. These need to move to foamed PVC.
- File built at 50% or 25% scale. Build at 100%.
- Holes under 6mm or drawn as printed dots rather than Thru-cut circles.
FAQ
Can I send a native Illustrator or InDesign file? No. PDF only, exported at 100% with the trim box set to the finished size.
What if my design app cannot make a trim box? Set the document page size to the finished size and add bleed in the export dialogue. Most apps write the trim box automatically from the page size.
Do I need a Thru-cut path for a plain rectangle? No. For a standard rectangle the trim box is the cut. Only add a Thru-cut path for a non-rectangular shape or for routed holes.
Can you rout holes smaller than 6mm? No. 6mm is the minimum across all rigid boards.
Does the 5mm double-sided bleed apply to KAPAPlast and corflute too? Yes. Any rigid board printed on both sides needs 5mm bleed regardless of material.
Where does the 2GB limit come from? It is the portal's upload cap. Flatten transparency and compress imagery to stay under it.
Key takeaways
- One set of file rules covers every rigid board: PDF, 100% size, trim box = finished size, fonts outlined, CMYK with Pantone C spots, 300dpi, under 2GB.
- Bleed is 3mm for single-sided and 5mm for double-sided. The extra 2mm covers the second print pass.
- Custom shapes use a spot colour named Thru-cut, centre-aligned, closed, one per sheet, any colour but white.
- Routed holes are 6mm minimum and kept clear of the edge.
- KAPAPlast only cuts simple convex shapes. Detailed or concave shapes go on foamed PVC or ACM.
- Name the file with size and quantity so prepress can match it to the order.
Ready to order rigid boards?
Upload your PDF through the trade portal and prepress will check it against these rules before it goes to the flatbed. If you are unsure which board suits the job, start with foamed PVC print only, the most flexible of the four for shape and finish, and work from there.