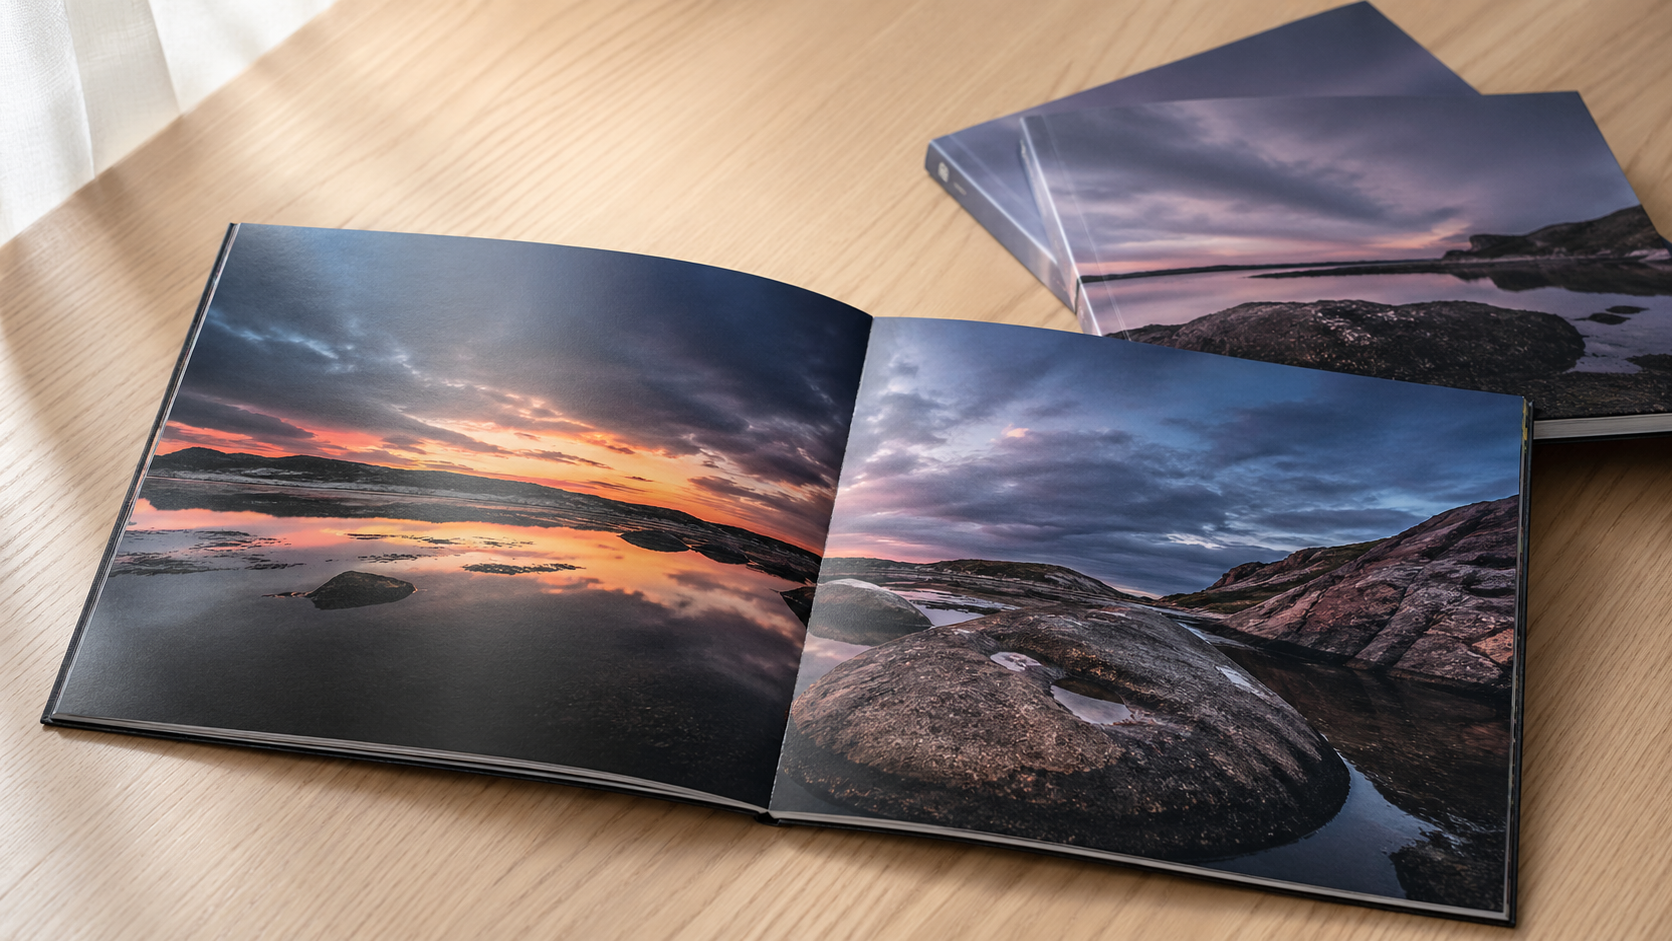
Photography booklets are unforgiving. Soft images, banded skies, missing bleed on a full-bleed spread — every shortcut shows up the moment the job comes off the press. If you're a designer preparing booklets for trade print, the InDesign workflow you build at the start determines whether your file lands cleanly or bounces back from prepress.
This is a practical setup guide for designers handing artwork to a trade printer. It covers document construction, image preparation, master pages for repeating elements, and the export settings that actually matter on the press side.
Honest note up front: Mediapoint doesn't print booklets ourselves — we focus on large format work, signage, banners, posters and labels. But the file setup principles in this guide apply across most print products you'll send to any trade printer in Australia, and designers we work with on signage and large format jobs often build booklets and catalogues alongside that work. So we wrote the guide we wish more designers had when they started sending us their other files.
Start with the right document setup
For a square photography booklet, a working size around 260 × 216 mm gives you a slightly horizontal-leaning square that prints economically on most B2 and SRA2 sheets. If you're going to a stitched or perfect-bound booklet, confirm the trim with your printer first — small adjustments can save you a re-imposition later.
When you create the document in InDesign:
- Choose the Print intent (not Web).
- Set Bleed to 3 mm on all four sides. Click the chain icon to apply it uniformly. For a deeper explanation of why bleed and trim marks matter across all print formats, see our bleed and crop marks guide for designers.
- Leave page count flexible — you can add or remove pages from the Layout menu or the Pages panel later.
- Default margins are fine for a first draft, but tighten or widen depending on your image-to-white-space ratio.
One small but useful tweak: go to View → Display Performance → High Quality Display. The default Standard preview makes raster images look soft on screen and tempts you into over-sharpening. Work on the real thing.
Prepare your photography in Photoshop first
Don't drop RGB images straight into InDesign and hope for the best. Trade printers running CMYK presses will convert your RGB on output, and you lose control over how saturated blues and deep reds shift. For more on choosing colours that translate well from screen to print, see our colour theory guide for print designers.
For each photo:
- Open in Photoshop and create a canvas at the same size or larger than the placement area in InDesign. For a 216 mm square image well, build a 216 × 216 mm canvas.
- Set resolution to 300 PPI.
- Convert to CMYK (Image → Mode → CMYK Color), ideally using a profile your printer recommends — most Australian trade printers work to a coated FOGRA or GRACoL-style profile for offset, or a wider-gamut profile for digital.
- Save out as maximum-quality JPEG or, for shadow-heavy images, a flattened TIFF.
Keep your prepared images in a dedicated folder for the booklet so the InDesign Links panel stays tidy. Broken links at export time are the most common cause of last-minute panic.
Placing images cleanly
Inside InDesign, use the Rectangle Frame Tool to draw a frame across the full spread, including bleed where the image runs to the edge. Snap the frame edges right out into the bleed guides — not just the trim — or you'll get a hairline of paper showing after trimming.
Then File → Place, select your prepared JPEG, and use the white arrow (Direct Selection) to position the image inside the frame.
Toggle between Normal, Preview, and Bleed view modes (bottom of the toolbar, or W key) regularly. Preview shows you what the trimmed page will look like. Bleed view confirms your image actually extends past the trim. Anything critical — text, faces, logos — should sit at least 5 mm inside the trim edge.
Use master pages for repeating elements
This is where designers either save themselves hours or spend an evening fixing the same page number sixty times.
Double-click A-Master in the Pages panel. Anything you place here — page numbers, folio lines, running heads, a section colour bar — appears automatically on every document page based on that master.
To add automatic page numbers:
- Select the Type Tool and draw a small text frame on the master page where you want the number to sit.
- Go to Type → Insert Special Character → Markers → Current Page Number. An "A" appears.
- Style it (size, weight, tracking) the same way you'd style any text.
- Alt/Option-drag the frame to the opposite master page so both verso and recto pages mirror correctly.
Back on your document pages, every page now carries a sequential number. The cover page will pick one up too — to suppress it, hover over the master item, hold Cmd+Shift (Mac) or Ctrl+Shift (PC), and click. That overrides the master item on that page so you can delete it.
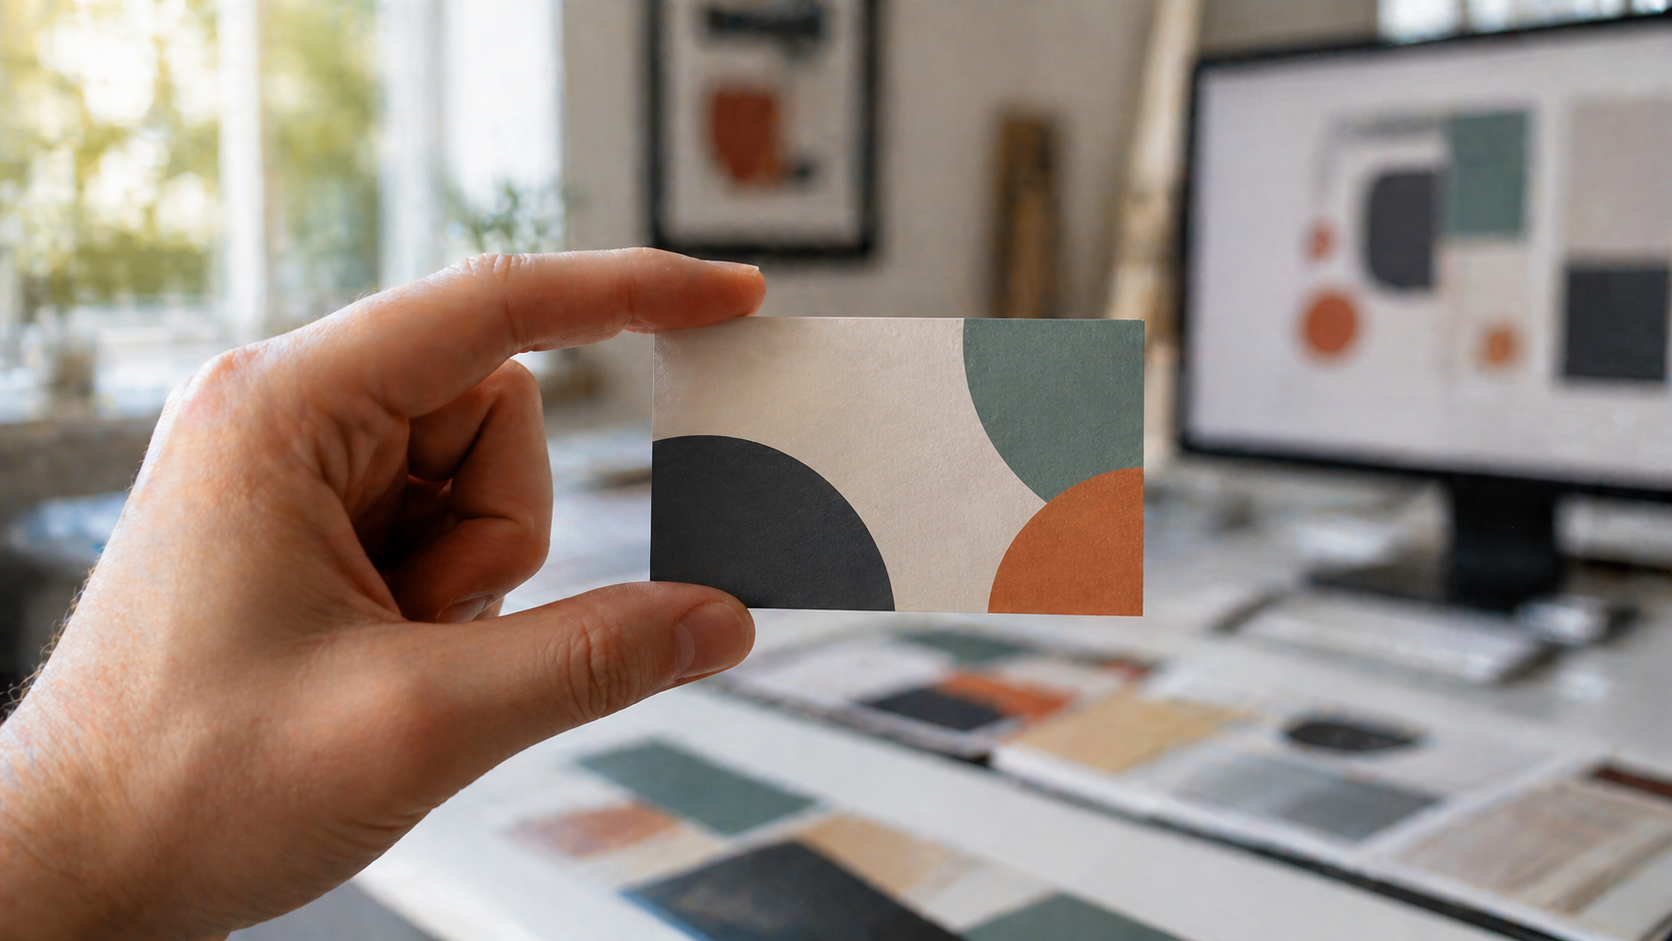
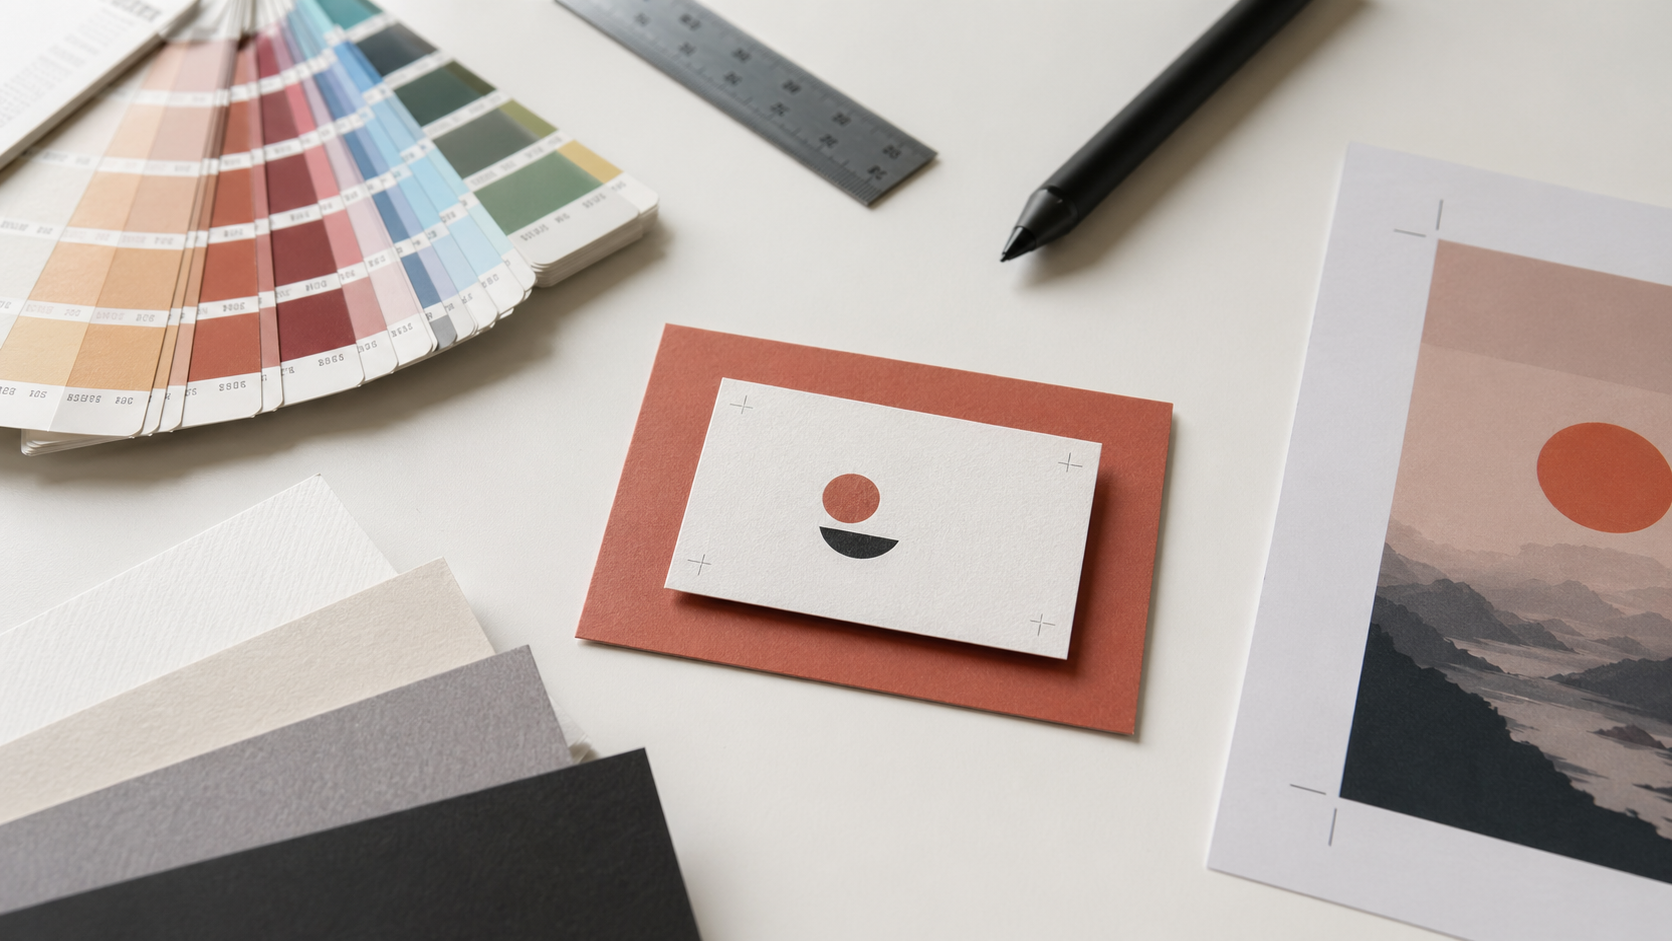
Cover layout: small details, big impact
Booklet covers are where stock choice and finish do most of the work, but the file still has to be right.
For a flat-colour cover background, draw a rectangle that extends to the bleed edge, not the trim. Double-click the swatch to dial in a CMYK build — avoid rich black recipes heavier than around 280–300% total ink coverage unless your printer's spec sheet allows more.
For logos, place vector files (PDF or AI) rather than raster wherever possible. Lock the background layer once it's positioned so you don't accidentally nudge it while working on type.
A note on typography: InDesign's typographic controls are deeper than Illustrator's for a reason — booklets live or die on text consistency. Use Paragraph Styles for body copy, captions, and folios from day one. Even on a short photo book, styles save you when the client asks for a global type change at proof stage.
Adding and removing pages
Photo edits and reselects mean page counts shift. From the Layout menu you can insert or delete multiple pages at once, or use the Pages panel to drag pages around manually.
If your booklet is going to be saddle-stitched, the page count must be a multiple of four. Perfect-bound jobs are more flexible but still need to align with signature counts your printer specifies. Always confirm before final export.
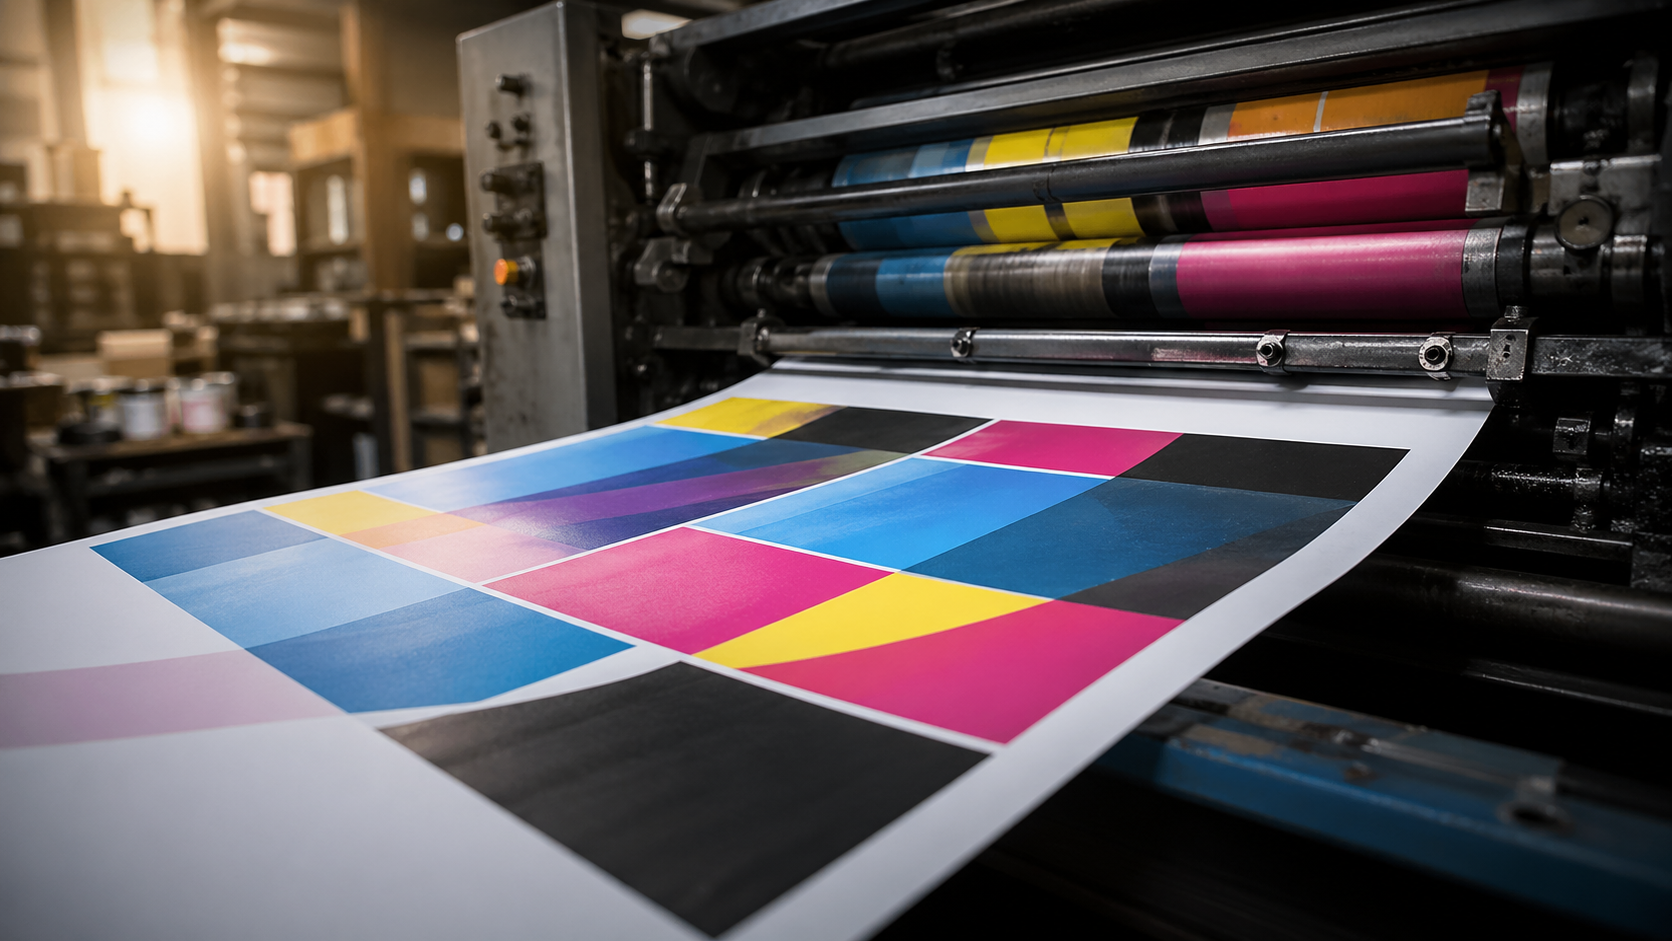
Export settings that work for trade print
When the booklet is signed off, export with File → Export → Adobe PDF (Print).
Key settings:
- Preset: Start from PDF/X-1a:2001 or PDF/X-4 — most Australian trade printers accept both. PDF/X-4 keeps live transparency, which is preferable for modern workflows.
- Pages: Export as Pages, not Spreads. Imposition is the printer's job, and spreads will confuse their RIP.
- Marks and Bleeds: Tick Crop Marks and Use Document Bleed Settings. Skip registration marks and colour bars unless your printer asks for them.
- Output: Leave colour conversion as "No Colour Conversion" if your images are already correctly profiled CMYK, or convert to the printer's destination profile if they've supplied one.
- Compression: Default high-quality settings are fine. For photography books, don't over-compress — use 300 PPI for colour images with bicubic downsampling and JPEG quality set to Maximum.
Open the resulting PDF in Acrobat and check every page. Look for missing fonts, low-res image warnings in the preflight panel, and confirm the bleed shows correctly when you toggle the bleed box display.
A quick word on stock and finish
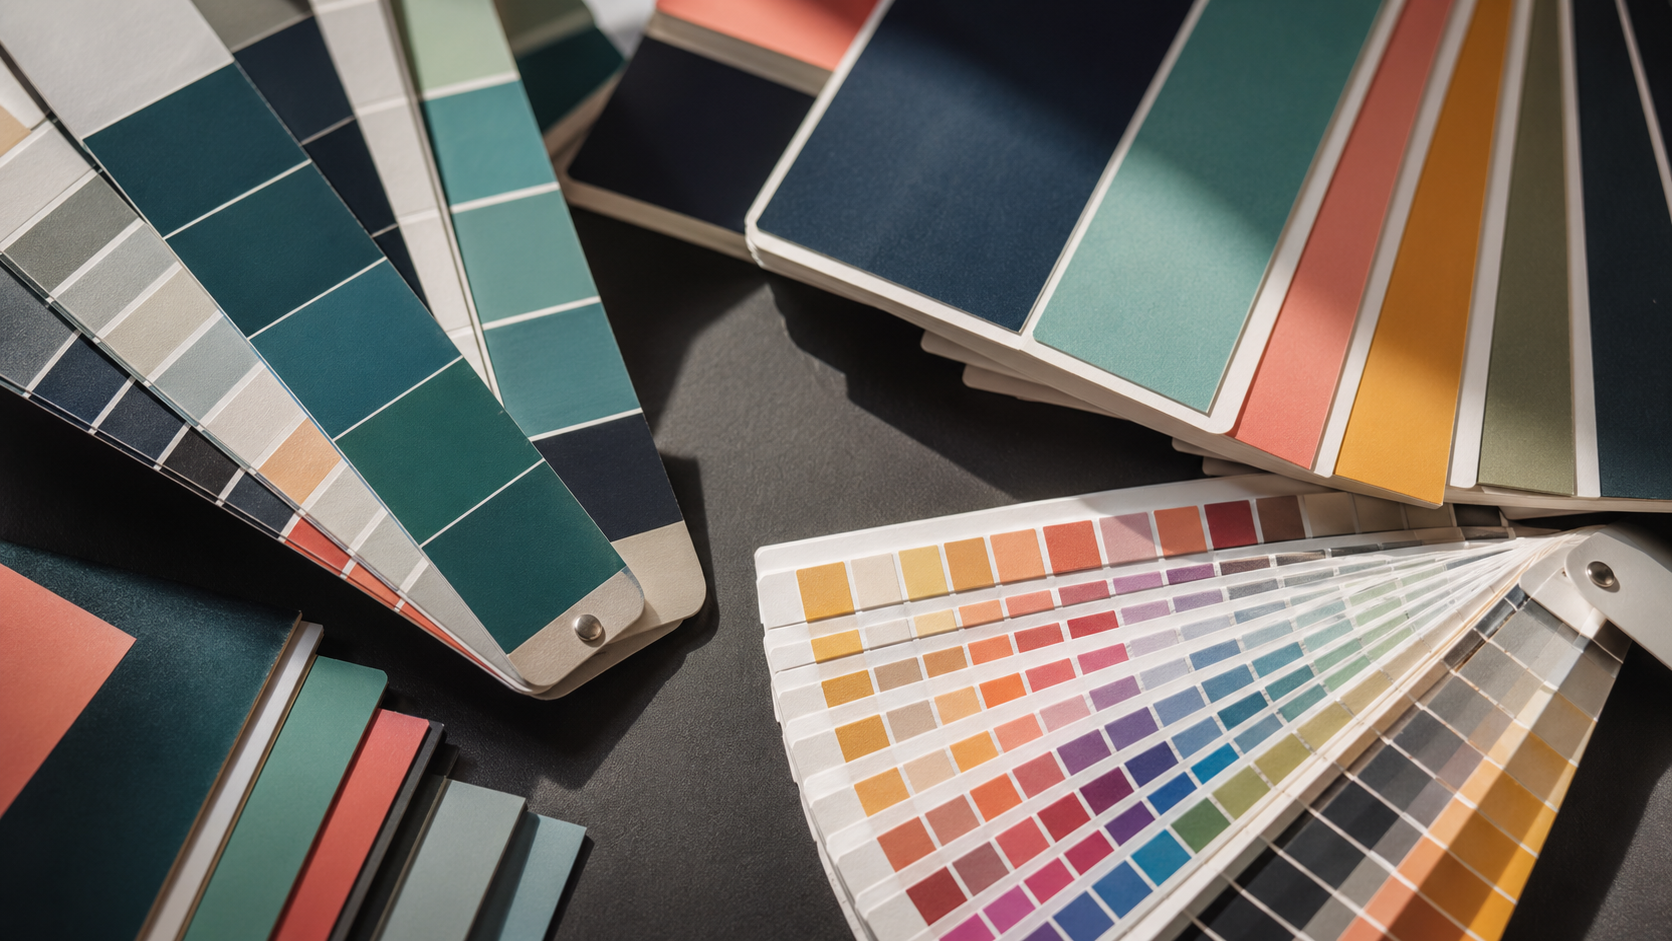
File setup is half the brief. The other half is spec — and stock choice changes how your images print. Matte stocks soften contrast and dull blacks; gloss lifts saturation but shows fingerprints; uncoated absorbs ink and flattens midtones. For photography booklets, a heavy silk or satin coated stock (around 150–170 gsm text, 300 gsm cover) is a reliable default that won't fight your images.
Talk to your trade printer early about stock samples. Most will send out a swatch pack on request, and seeing your CMYK builds on the actual paper before you commit to a run is the single best way to avoid surprises.
Frequently asked questions
What size should I make a photography booklet?
Common formats range from compact 148 × 210 mm (A5) to square formats around 210 × 210 mm or 260 × 216 mm, up to A4 portrait. Square formats give photography more visual flexibility for both landscape and portrait images. Confirm your size with the printer before starting — small adjustments to fit a sheet size economically can save significant cost.
Does a booklet page count need to be a multiple of four?
For saddle-stitched booklets, yes. Saddle-stitched binding folds large printed sheets in half, which means pages are produced in groups of four (front and back of one folded sheet). Perfect-bound booklets are more flexible but still need to align with the signature counts your printer specifies.
Should I export my InDesign booklet as pages or spreads?
Always export as Pages, not Spreads. Imposition (the process of arranging pages so they print and fold correctly) is the printer's job. Exporting as spreads confuses the printer's RIP and forces them to manually separate your file before they can impose it.
What PDF preset should I use for trade-printed booklets?
PDF/X-1a:2001 or PDF/X-4 are the two safe choices. PDF/X-1a flattens transparency and is the more conservative option. PDF/X-4 keeps live transparency, which preserves more design flexibility. Most Australian trade printers accept both — ask your printer which they prefer.
What resolution do my photographs need to be?
300 PPI at the size they appear in the booklet is the standard. A photograph placed at 200 mm wide on the page needs to be at least 200 mm × 300 PPI = 2,362 pixels wide in Photoshop. Always check before placing — upscaling an image after placement won't add detail, it just makes the softness more obvious.
Key takeaways
- Build the InDesign document with a 3 mm bleed on all sides and work in High Quality Display mode.
- Prep photography in Photoshop at 300 PPI, CMYK, sized to match or exceed the placement area before importing.
- Use master pages for page numbers, folios, and repeating elements — it's the difference between an hour of work and a full evening.
- Override master items on the cover with Cmd/Ctrl+Shift+click to remove unwanted page numbers.
- Export as PDF/X-1a or PDF/X-4, pages not spreads, with crop marks and document bleed settings on.
- Confirm page counts work for your binding method (multiples of four for saddle-stitched).
When you're ready for the bigger print work
The file setup principles for photography booklets transfer to most print products you'll work on as a designer. Bleed, CMYK, outlined type, PDF/X-1a or PDF/X-4 — same standards across signage, large format banners, posters, labels and rigid signage.
Mediapoint doesn't print booklets, but we do produce the wide format and signage work designers need alongside their booklet and catalogue jobs. If you're working on something bigger than a printed page — outdoor signs, retractable banners, posters, labels, or any large format print — have a look at our full product catalogue or get in touch for a quote. The file setup principles in this guide will get you through prepress on those jobs too.
The press-readiness specifications, Australian trade printing standards, and prepress workflow guidance throughout are based on Mediapoint's production standards.