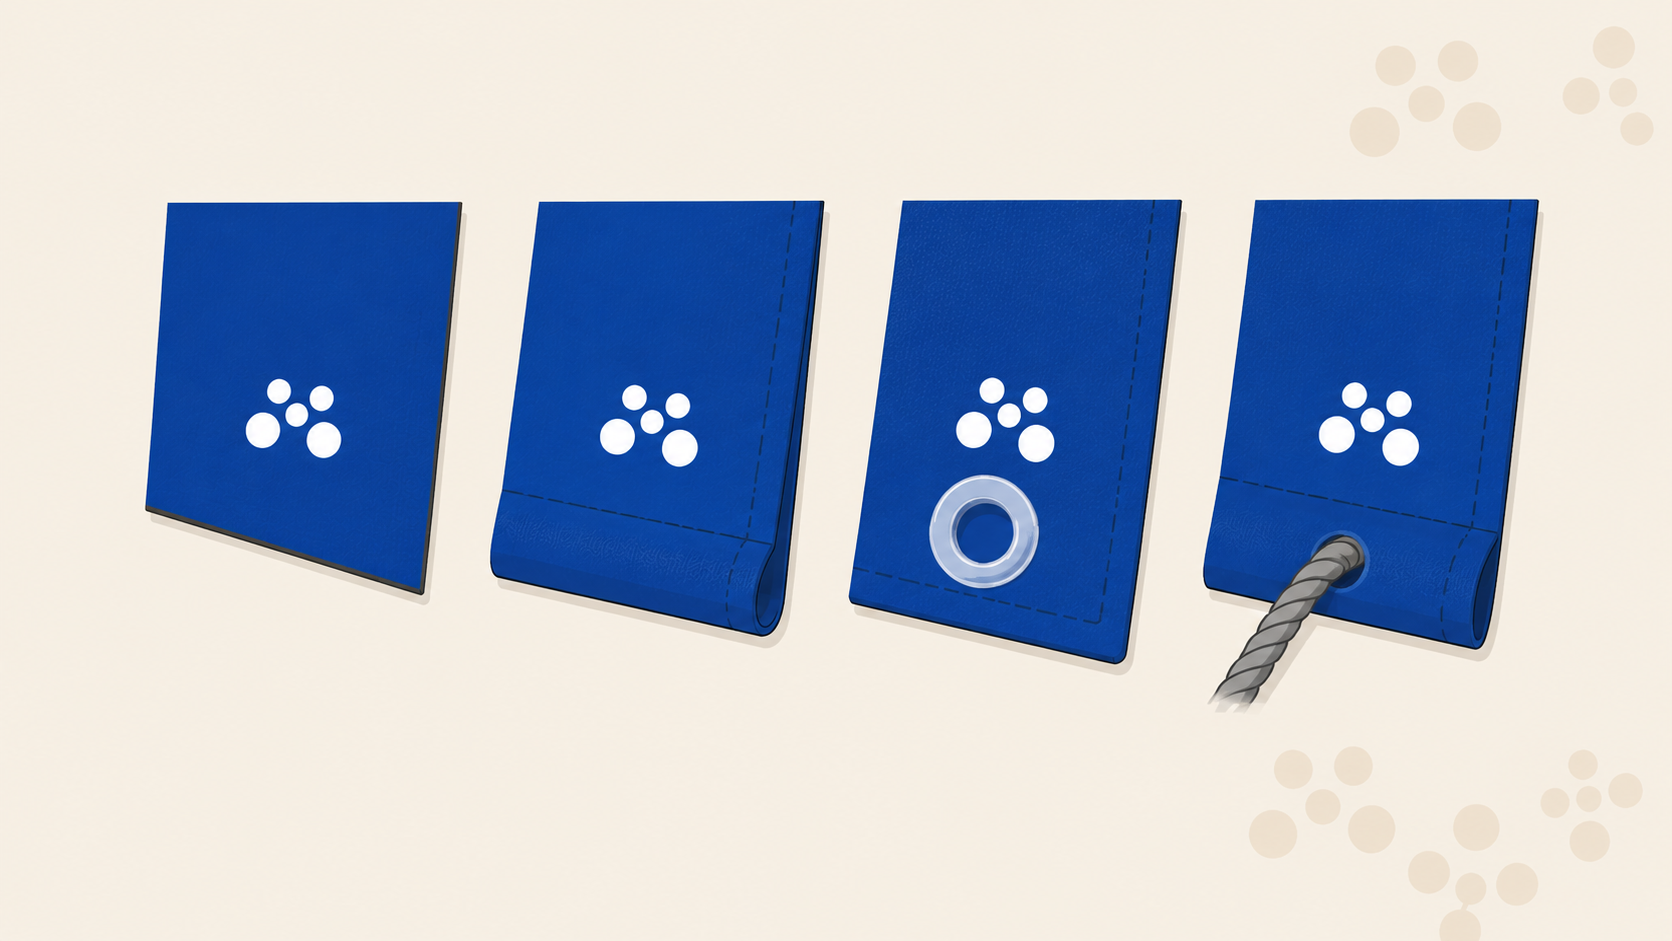
Two banners printed on the same stock with the same artwork can have completely different lives, and the difference is the finishing. One is tied to a fence with eyelets and comes down in a month; the other slides into a shopfront frame and swaps graphics for years. Finishing is how a banner meets its install, and choosing it well is most of what separates a job that works from one that fights you.
We offer five ways to finish a PVC banner. Here is what each one actually is, how it is made, when to choose it, and the mistakes to avoid.
1. Unfinished
What it is: the banner printed and cut to size. No hem, no fixings, raw edges.
When to choose it: more often than you would think, for trade buyers. Unfinished suits banners that are being finished by the sign shop themselves, mounted into a frame system that does its own edge capture, wrapped and fixed around a structure, or trimmed on site to fit. If you have your own eyelet press or welder, buying unfinished and finishing in-house is the economical route.
The mistake to avoid: using an unfinished banner in a tensioned or wind-exposed install. A raw edge under load is where tears start, because there is no reinforcement for the stress to spread into. Unfinished is a component, not an outdoor-ready product.
2. Hemmed
What it is: the edges folded back and welded, creating a double-thickness reinforced border around the banner.
The welding matters. A welded hem fuses the fold into the banner rather than relying on stitching alone, which is what lets the edge carry load and handling without peeling open. On our 500gsm stock, a welded hem produces a genuinely tough perimeter.
When to choose it: whenever a banner will be handled, transported, reused, or fixed by any method that stresses the edge. The hem is the foundation nearly every other finish builds on, and even where no fixings are needed, it gives the banner a clean, finished border and a much longer working life.
The mistake to avoid: skipping the hem to save a few dollars on a banner that gets reused. Edge wear is where reused banners die, and the hem is the cheap insurance against it.
3. Hem and eyelets
What it is: the welded hem fitted with eyelets, the ringed holes the banner ties, cable-ties or bungees through.
Ours are worth a closer look, because eyelets are where a lot of cheap banners give themselves away. We fit clear 12mm eyelets: a high-grade polymer fitting rather than metal, which means:
- They blend into the artwork. Clear eyelets disappear against the print instead of punctuating it with rings of silver metal.
- They cannot rust. Metal eyelets outdoors eventually corrode and streak stains down the banner face. A polymer eyelet never will.
- They are UV protected and PVC-free, engineered for exactly this job rather than borrowed from the clothing trade.
Eyelets are placed in the corners and spaced along the edges to suit the banner's size and the install, so the load spreads across many fixing points rather than a few.
When to choose it: the default for fence, scaffold, railing and hoarding work, anywhere the banner ties point-by-point to an existing structure. It is the classic outdoor banner spec for good reason.
The mistake to avoid: over-tensioning individual ties. An eyeleted banner should be fixed firmly at every point so the load shares evenly; cranking two corners drum-tight and leaving the rest loose concentrates wind load onto those corners, and that is how eyelets get torn out in the first storm. Fix every point, tension evenly.
4. Hem and rope
What it is: a rope sewn into the hem, running continuously along the banner edge.
When to choose it: banners that are tensioned along their whole edge rather than at points, larger banners fixed to structures, and installs where the rigging pulls on the edge as a line. The rope turns the entire edge into the load path, so tension distributes along the full length instead of gathering at discrete holes. For big banners in exposed positions, that distribution is the difference between a banner that rides the wind and one that works its fixings loose.
The mistake to avoid: speccing rope when the install is actually point-fixing. Rope is for edge tension; if the crew on site is going to cable-tie the banner to a fence, they need eyelets, and a roped edge will frustrate them.
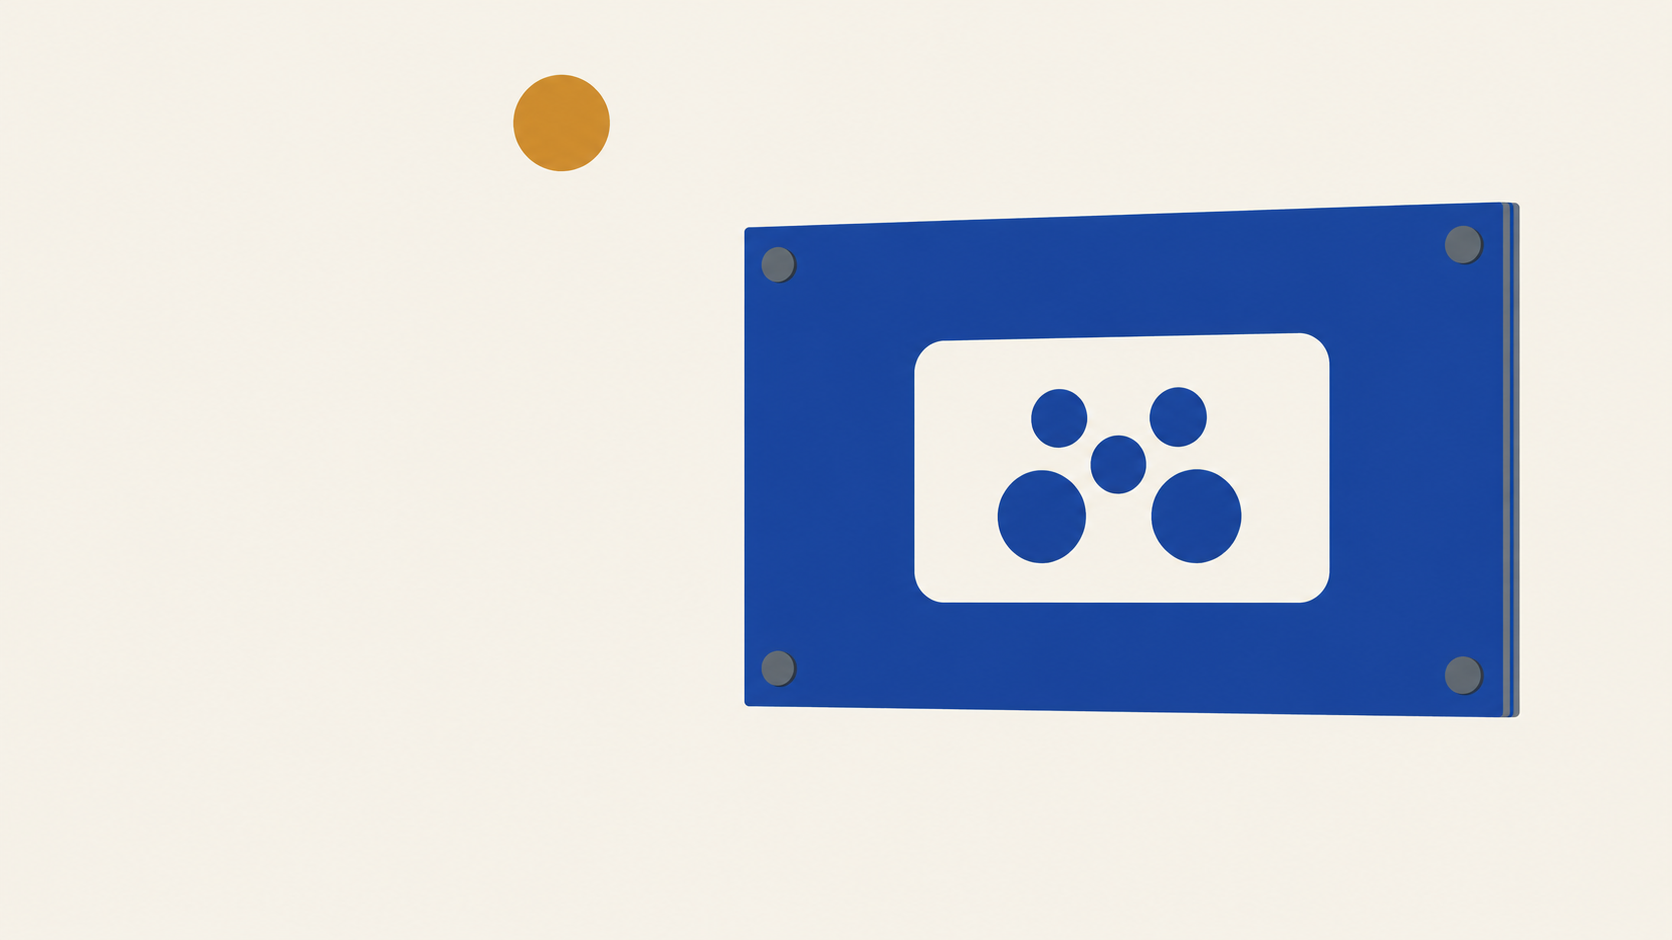
5. Keder
What it is: a welded 7.5mm edge bead, in white or black, that slides into the channel of an aluminium sail track extrusion, giving a fully tensioned face with no visible fixings.
This is the premium finish, and it is different in kind from the others: the hardware does the tensioning, the graphic becomes swappable, and the result sits drum-flat. It fits any 7.5mm sail track system, and we have covered it properly in our keder banners guide, including how to order for a specific frame system.
When to choose it: wherever there is a track. Shopfront frames, wall frames, display systems, structures fitted with sail track. If the job has a 7.5mm channel, keder is the answer.
The mistake to avoid: ordering keder to the frame's visual opening instead of the frame system's graphic spec. Frames tension differently, so always order to the system's stated graphic size.
Matching the finish to the install: the short version
- Sign shop finishing it themselves, or a frame that captures raw edges → unfinished.
- Handled, reused, or any edge-stressed install → hemmed, at minimum.
- Tied point-by-point to fences, scaffold, railings → hem and eyelets.
- Tensioned along the edge on larger structural installs → hem and rope.
- Sliding into a sail track or frame system → keder.
The one question that answers most of it: how is this banner physically being fixed on site? Tell us that at quoting and the finish specs itself. The full stock and sizing picture sits in our PVC banner guide.
A note on artwork and finishing
Finishing lives at the banner's edges, which has one artwork consequence: keep critical content away from them. Hems fold material back, eyelets punch through the border zone, and keder edges disappear into track. Logos, text and anything that must not be interrupted belong safely inside the face, with the perimeter treated as a working zone. Standard file setup applies, print-ready CMYK PDF at finished size, 3mm bleed, fonts outlined, and tell us the finishing at quoting so the edges are allowed for correctly.
Frequently Asked Questions
What finishing options are available on PVC banners? Five: unfinished, hemmed, hem with eyelets, hem with rope, and keder. Unfinished suits trade buyers finishing in-house or frame systems that capture raw edges; hems reinforce; eyelets suit point-fixing to fences and structures; rope suits edge-tensioned installs; and keder suits sail track and frame systems.
What are your banner eyelets made of? Clear 12mm polymer eyelets, PVC-free and UV protected, fitted into a welded hem. Being clear, they blend into the artwork rather than standing out as metal rings, and unlike metal eyelets they cannot rust and streak stains down the banner face over time.
Should I choose eyelets or rope? Let the install decide. If the banner ties point-by-point to a fence, scaffold or railing, eyelets. If it is tensioned along its whole edge on a larger structural install, rope, which spreads the load along the full edge instead of concentrating it at holes.
Do banners really need a hem? Any banner that gets handled, reused, or fixed under load benefits from one. The welded hem doubles the edge thickness and fuses it, which is what stops edge tears and peeling. The main case for skipping it is a frame or finishing process that handles the edges itself.
How should an eyeleted banner be installed? Fix through every eyelet and tension evenly. Fixing only the corners tightly concentrates wind load on those points, which is how eyelets tear out in strong weather. Even, all-points fixing shares the load the way the finishing is designed to.
Does finishing affect how I set up my artwork? Yes, at the edges. Hems fold material back, eyelets occupy the border zone, and keder edges disappear into track, so keep text, logos and critical content well inside the banner face. Supply a print-ready CMYK PDF at finished size with 3mm bleed and fonts outlined, and nominate the finishing at quoting.
Key takeaways
- Finishing is how a banner meets its install: the fixing method on site should choose the finish.
- Unfinished is a legitimate trade option for self-finishers and edge-capturing frames, not a corner-cut for outdoor work.
- The welded hem is the foundation finish, reinforcing the edge nearly everything else relies on.
- Our clear 12mm polymer eyelets blend into the print, cannot rust, and are UV protected, and they work best fixed at every point with even tension.
- Rope suits edge-tensioned structural installs; keder suits any 7.5mm sail track or frame system.
- Keep critical artwork away from the edges, and tell us the finishing at quoting.
Order banners finished for the install
Tell us how the banner is being fixed and we will spec the finish to match, on premium 500gsm stock with welded hems, clear eyelets, rope or keder as the job demands. Mediapoint prints trade-only, blind-shipped PVC banners with eyelets and every other finish in this guide, up to 2400mm x 20m. Send the job through for a quote with the install method, and the rest specs itself.