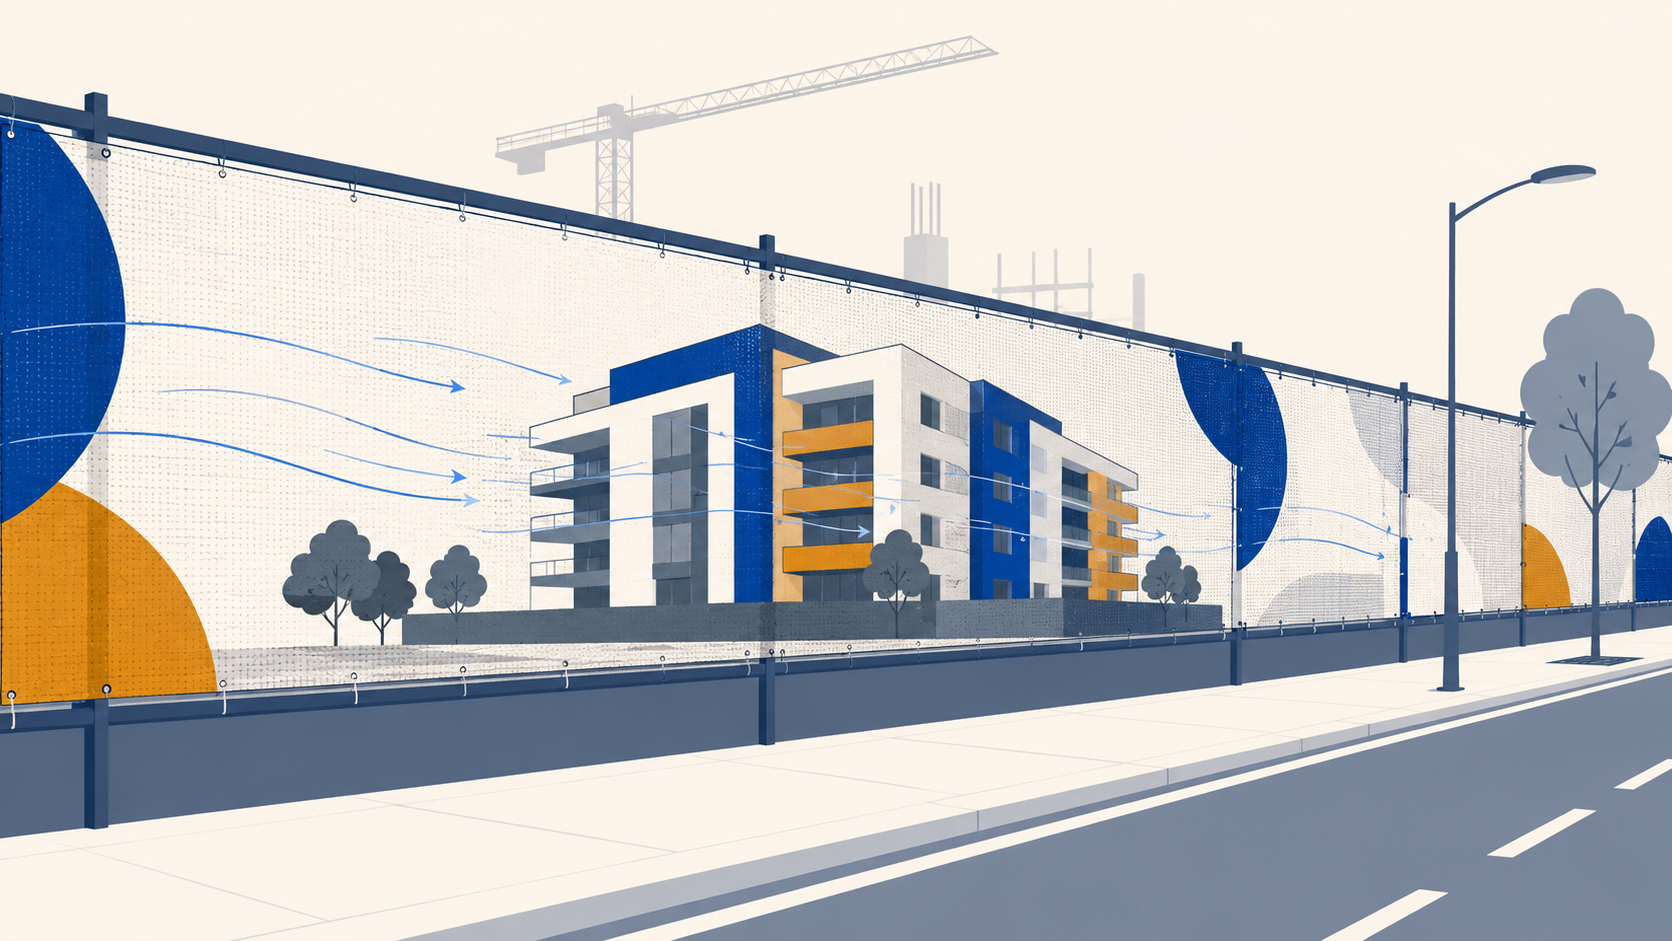
A mesh banner is only as good as the way it is fixed. The print can be perfect and the material correct, but if the banner is mounted with too few fixings or the wrong hardware, it will sag, flap, tear at the eyelets, or come down in the first strong wind. This guide covers the hardware used to mount mesh banners, when to use each option, and how to fix a banner so it stays tight for its full outdoor life.
For the full product background, see The Complete Guide to Mesh Banner Printing in Australia. This article is about mounting and fixing.
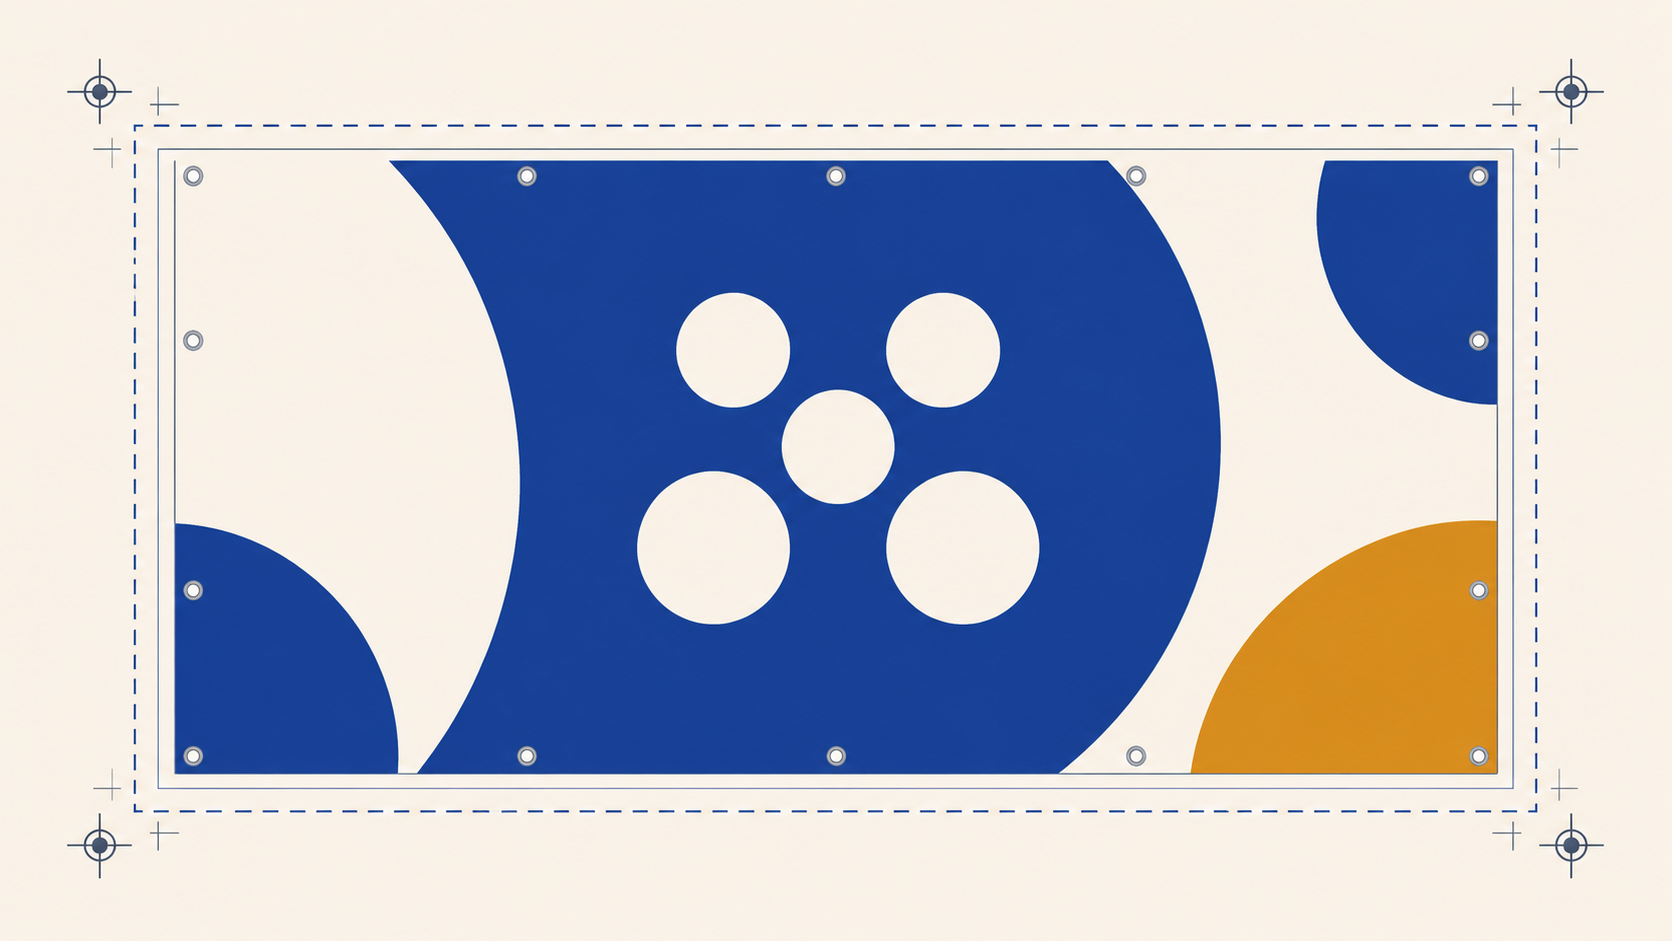
The starting point: hem and eyelets
Every Mediapoint mesh banner is finished with a sewn hem and PLASTGrommet plastic eyelets, supplied as hem with eyelets. Those eyelets are the interface between the banner and whatever you fix it to. All of the hardware below works by passing through the eyelets, so the eyelet spacing you order sets how many fixing points you have to work with.
Plastic eyelets are used rather than metal for good reason on outdoor work. Metal eyelets can rust over a long site life and leave streaks down the print, and they can corrode in coastal and wet conditions. Plastic eyelets avoid both problems and hold up for the life of the banner.
Eyelet spacing is set at 300mm, 500mm or 1000mm centres. The closer the spacing, the more fixing points you have and the tighter the banner can be pulled. For exposed sites, order 300mm spacing so you have enough points to hold the banner flat against the wind.
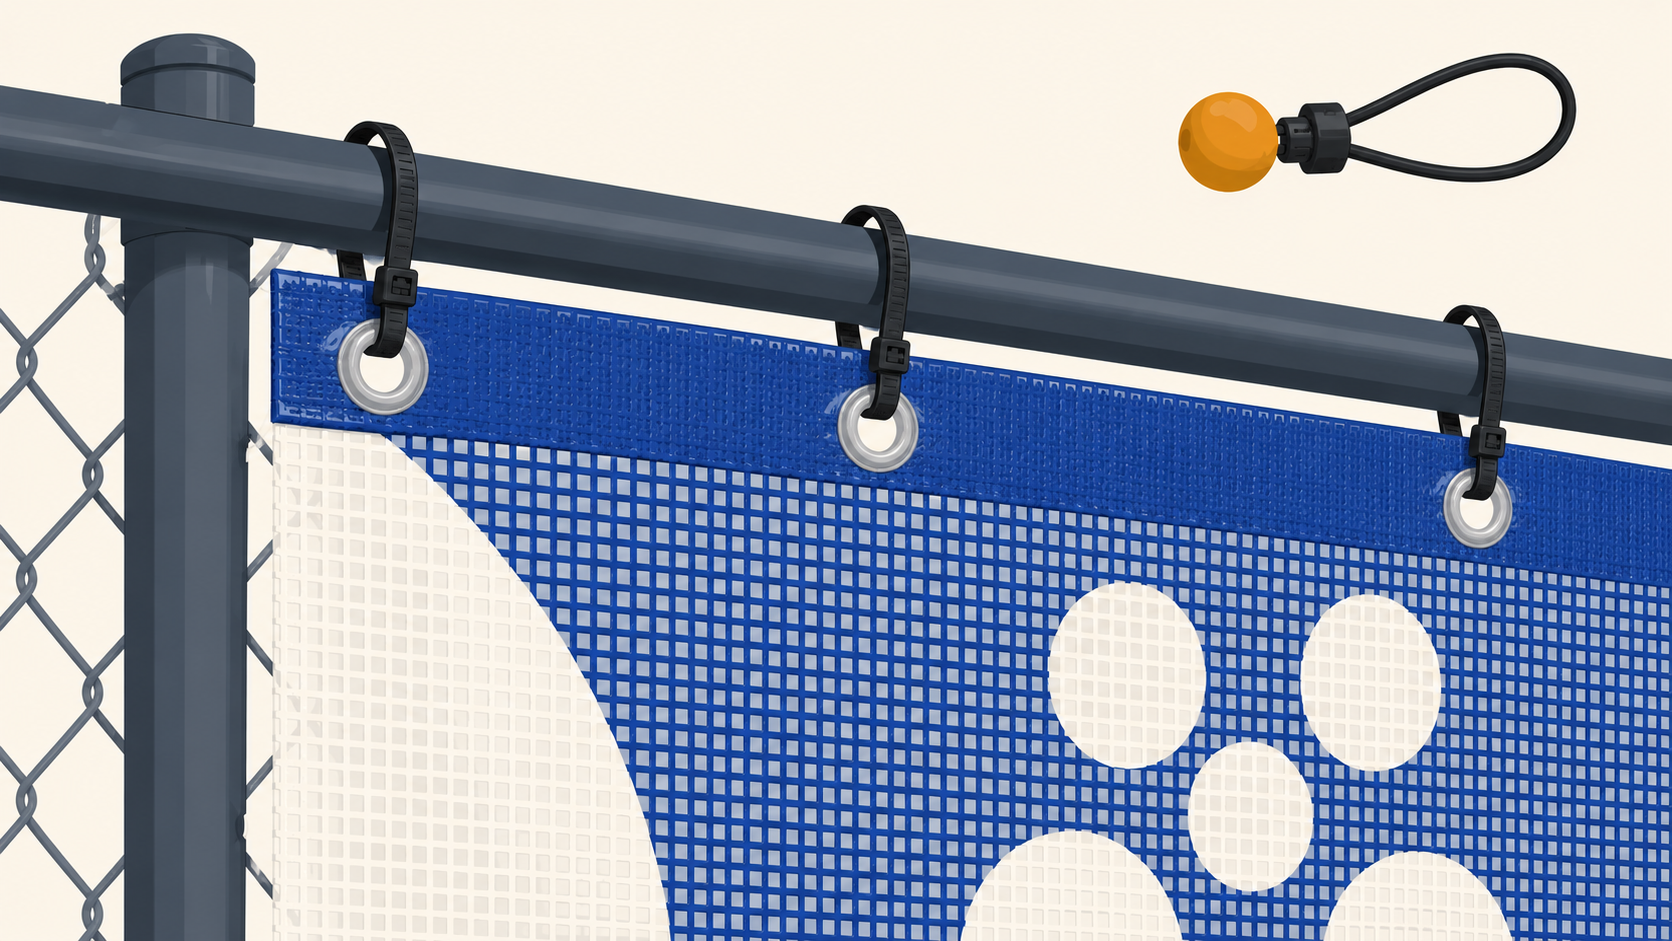
Cable ties: the default for fence and hoarding
For temporary fencing, scaffold and construction hoarding, UV stable cable ties are the standard fixing. They are fast to install, cheap, strong, and they pull the banner tight to the structure at every eyelet.
Use cable ties rated for outdoor use, not standard indoor ties, because ordinary nylon ties go brittle in UV and snap after a few months. Fix through every eyelet rather than skipping points to save time. Skipped eyelets are where flapping starts, and flapping is what tears a banner. Trim the tails after install so they do not whip in the wind.
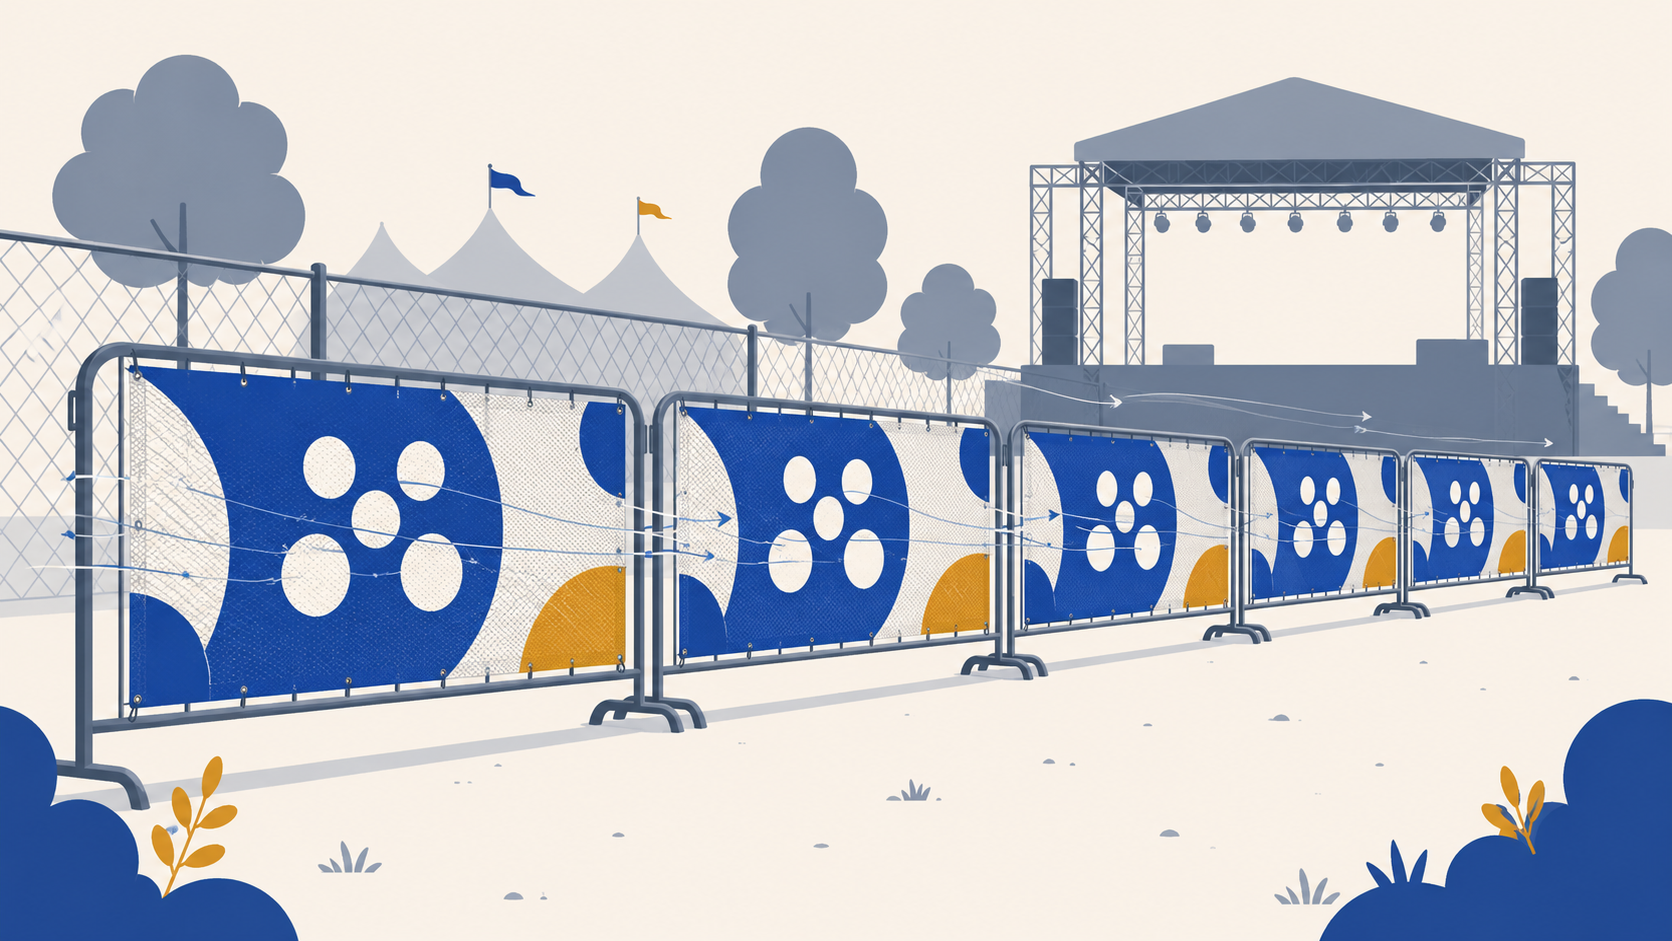
Ball bungees and shock cord: event and barrier use
For event fencing, crowd barriers and any banner that needs to go up and come down quickly, ball bungees are a faster and reusable option. The elastic loop hooks through the eyelet and around the barrier, holding the banner with a little give that absorbs gusts.
Bungees suit short term and repeat use well. For long term hoarding they are less ideal than cable ties, because the elastic degrades in UV over months and the give that helps at an event can allow more movement than you want on a banner that is up for the whole build.
Rope and lacing: continuous tension
For some installations the banner is laced to the frame through the eyelets with a continuous rope, rather than fixed at each point separately. Lacing spreads tension evenly along the edge and gives a clean, taut finish, which is why it is common on framed signage and some stage backdrops.
Lacing takes longer to install than cable ties and needs a frame or rail to lace against. Use a UV stable rope so it does not perish before the banner does.
Fixing to solid structures
When a mesh banner mounts to a solid surface such as a timber hoarding wall or a building face, the eyelets are fixed with screws and large washers, or the banner edge is held under a timber batten screwed along the top and bottom. Battens give the cleanest result on a flat wall, because they hold the whole edge rather than just the eyelet points and stop the edge lifting.
Whichever method you use, fix top and bottom, not just the top. A banner fixed only along the top edge will lift and flap from the bottom in any wind.
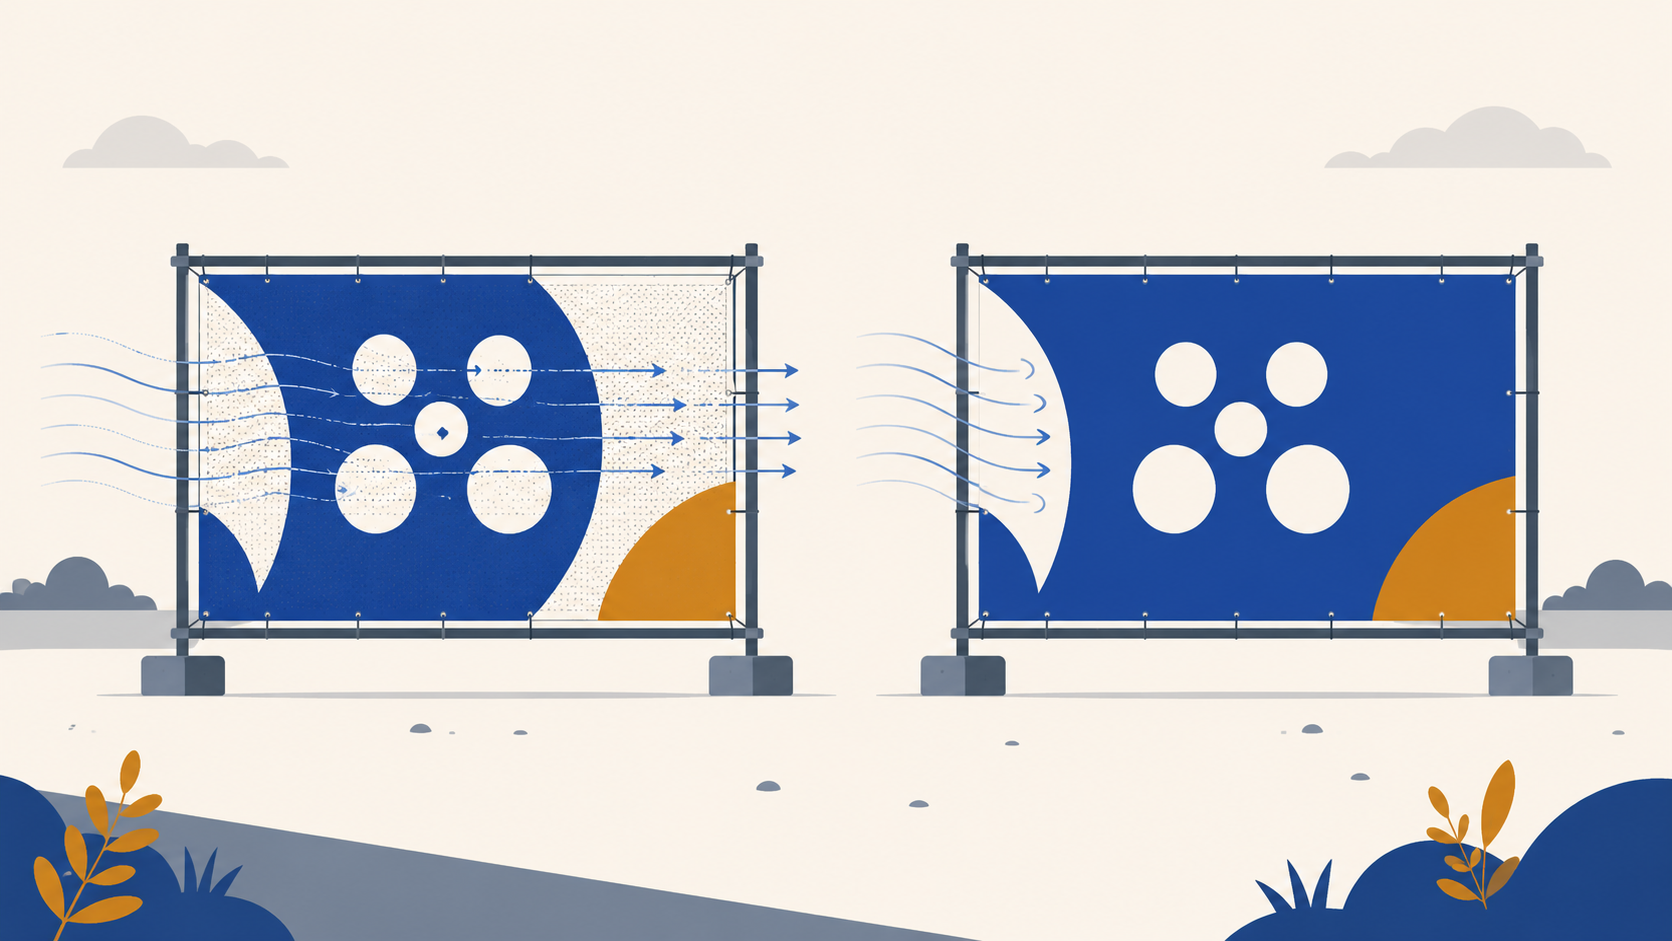
How many fixings and how tight
The two questions that decide whether a banner survives are how many fixing points you use and how tight you pull it.
As a rule, more exposed means more fixings. On a sheltered site, fixing at 500mm or 1000mm eyelet spacing is fine. On an exposed or coastal site, order 300mm spacing and fix through every eyelet. A banner pulled tight and fixed at close intervals presents a flat, stable face to the wind. A loose banner with gaps between fixings catches the wind in pockets and works itself loose.
Aim for even tension all the way around. Start at the corners, then the midpoints, then fill in, so the banner is evenly tensioned rather than pulled tight on one side and loose on the other.
Hardware to avoid
A few choices cause most of the avoidable failures. Avoid plain steel fixings that will rust and stain the print. Avoid standard indoor cable ties that go brittle in UV. Avoid fixing too few points to save time, which is the single most common cause of a banner tearing at the eyelets. And avoid leaving a banner loose, since movement is what damages both the material and the fixings.
Ordering mesh banners from Mediapoint
Mediapoint is a trade only printer supplying sign shops, resellers and agencies, with blind shipping so the finished banner reaches your client under your own brand. We print trade mesh banners hemmed with plastic eyelets at the spacing your install needs, so they arrive ready to fix on site. To order, set up a trade account here: https://www.mediapoint.com.au/authorization/registration/personal-information. Tell us the finished size, the mesh weight and the eyelet spacing, and we will quote and turn it around to your schedule.
For the install detail on construction sites specifically, see Construction Hoarding Banners.
Frequently asked questions
How do you fix a mesh banner to a temporary fence?
The standard method is UV stable cable ties through every eyelet, pulling the banner tight to the fence panel. Order the banner with 300mm eyelet spacing for exposed sites so you have enough fixing points, and fix top and bottom so the banner cannot lift.
What cable ties should I use for a mesh banner outdoors?
Use cable ties rated for outdoor and UV use. Standard indoor nylon ties go brittle in sunlight and snap within a few months, while UV stable ties last the life of the banner. Trim the tails after install so they do not whip in the wind.
Can I reuse a mesh banner and its fixings?
For repeat use, such as event fencing, ball bungees are the better fixing because they hook on and off quickly and are reusable. Cable ties are cut off and replaced each time. The banner itself can be reused as long as it is stored clean and dry.
Why are the eyelets plastic and not metal?
Plastic PLASTGrommet eyelets are used because they will not rust and stain the print, and they will not corrode in coastal or wet conditions over a long outdoor life. Metal eyelets can streak the banner as they rust.
How many fixing points does a mesh banner need?
It depends on exposure. Sheltered sites are fine at 500mm or 1000mm eyelet spacing, while exposed and coastal sites should use 300mm spacing with a fixing through every eyelet. More fixing points keep the banner flat and stop it flapping, which is what causes tears.