Good artwork is what separates a mesh banner that looks sharp on site from one that prints soft, crops a logo, or shows white at the hem. Mesh also has a few quirks that catch designers who are used to setting up solid vinyl or paper. This guide covers how to prepare print ready files for mesh banners, including the perforation, the hem and the things that go wrong most often.
For the full product background, see The Complete Guide to Mesh Banner Printing in Australia. This article is about file setup.
Supply a print ready PDF
The cleanest file to supply is a print ready PDF. Build the artwork in a vector program where you can, keep it as vector for as long as possible, and only rasterise where you have to. Outline or embed all fonts so nothing reflows or substitutes when the file is processed. Supply the file in CMYK, since the banner prints in CMYK and designing in RGB means the colours you approve on screen are not the colours that print.
If the design includes placed images, make sure they are linked or embedded at adequate resolution rather than dropped in small and scaled up. A logo pulled from a website will not hold up at banner size.
Design to the finished size
Set your document to the finished size of the banner, or to a clean scale of it such as one tenth size, and note the scale clearly. Designing to size keeps type, margins and logos in proportion and avoids surprises when the file is output at full scale.
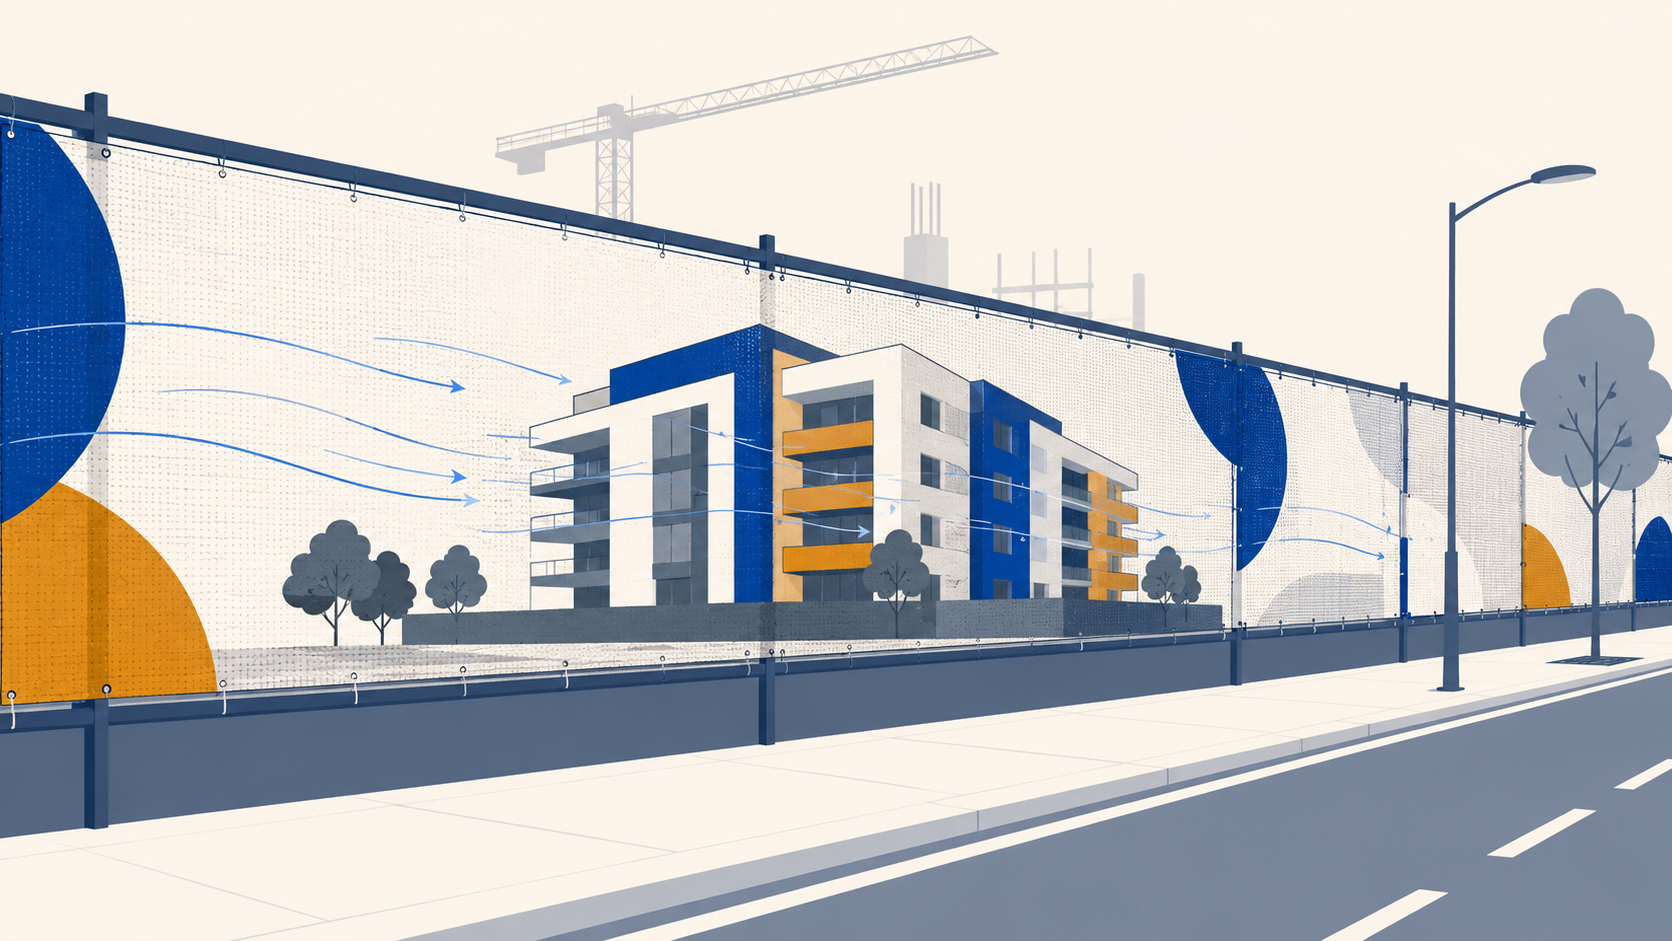
Remember the print limit when you set the canvas. Mediapoint mesh prints to a maximum of 1800mm in one direction and up to 50 metres in the other, so one dimension of your artwork is capped at 1800mm. The full sizing logic, including how to handle banners larger than that, is in Standard Mesh Banner Sizes in Australia.
Resolution for large format
Large format does not need the high resolution you would use for a printed brochure, because banners are viewed at distance. A banner read from across a road can be built at a much lower effective resolution than one read from a metre away and still look sharp.
The practical method is to design at scale with the resolution set so that the file is sharp at full size. If you design at one tenth size, the effective resolution at full size is one tenth of your document resolution, so set the document resolution high enough that it holds up when scaled up. When in doubt, ask us for the supply specification before you start, rather than after the file is built.
Bleed and safe area
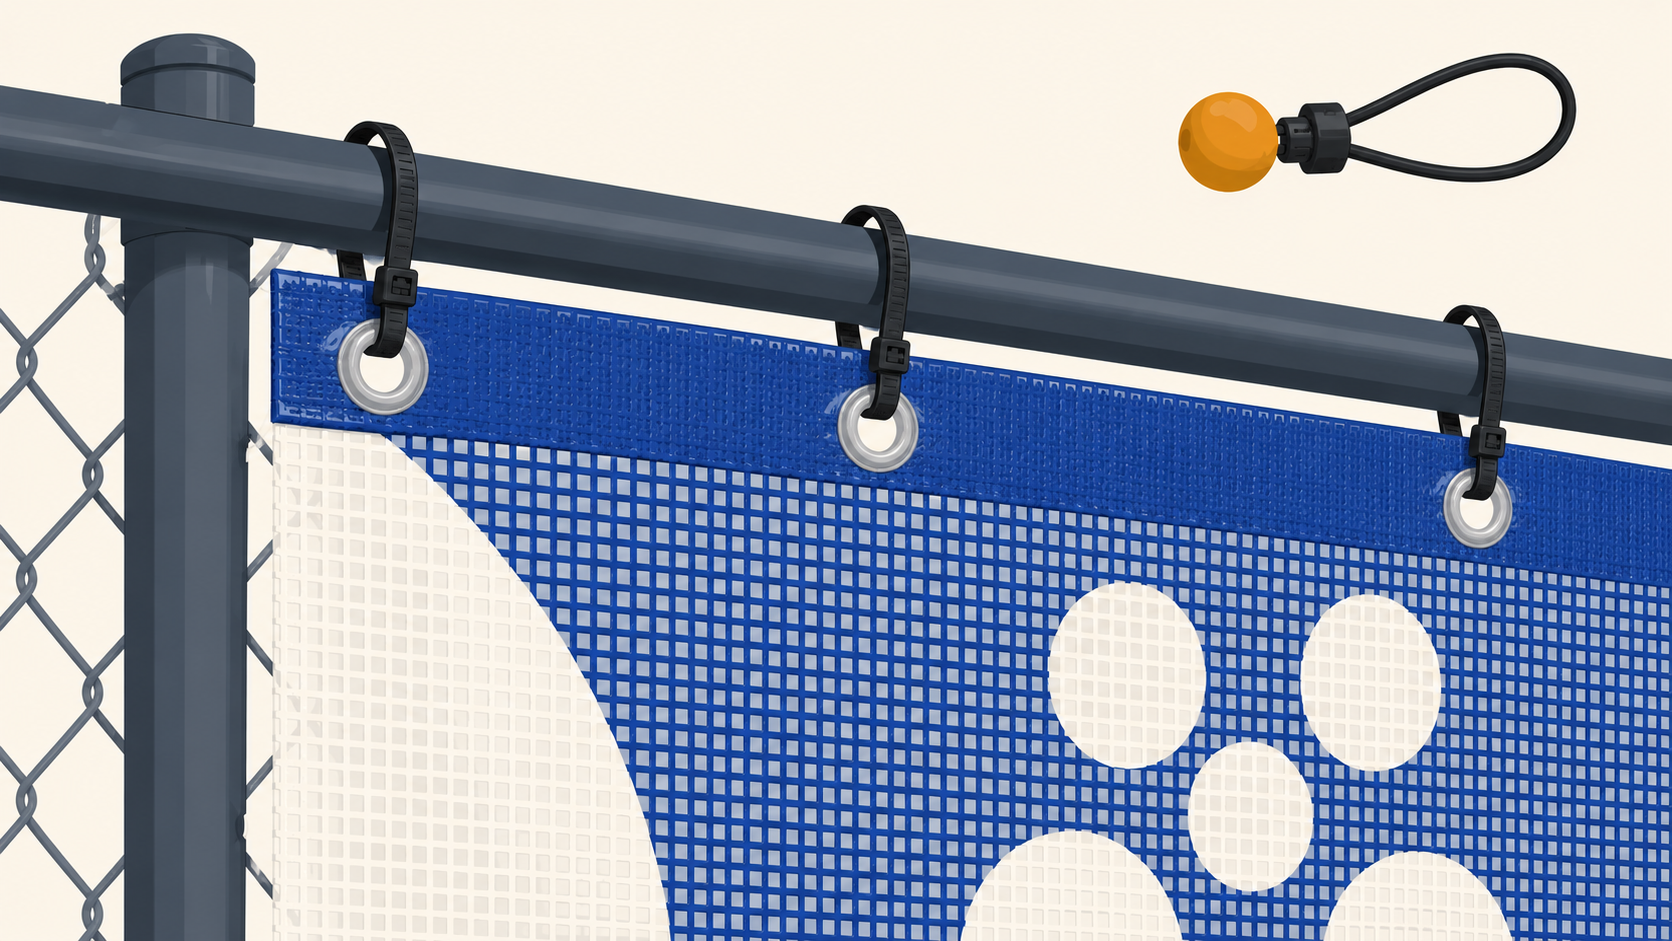
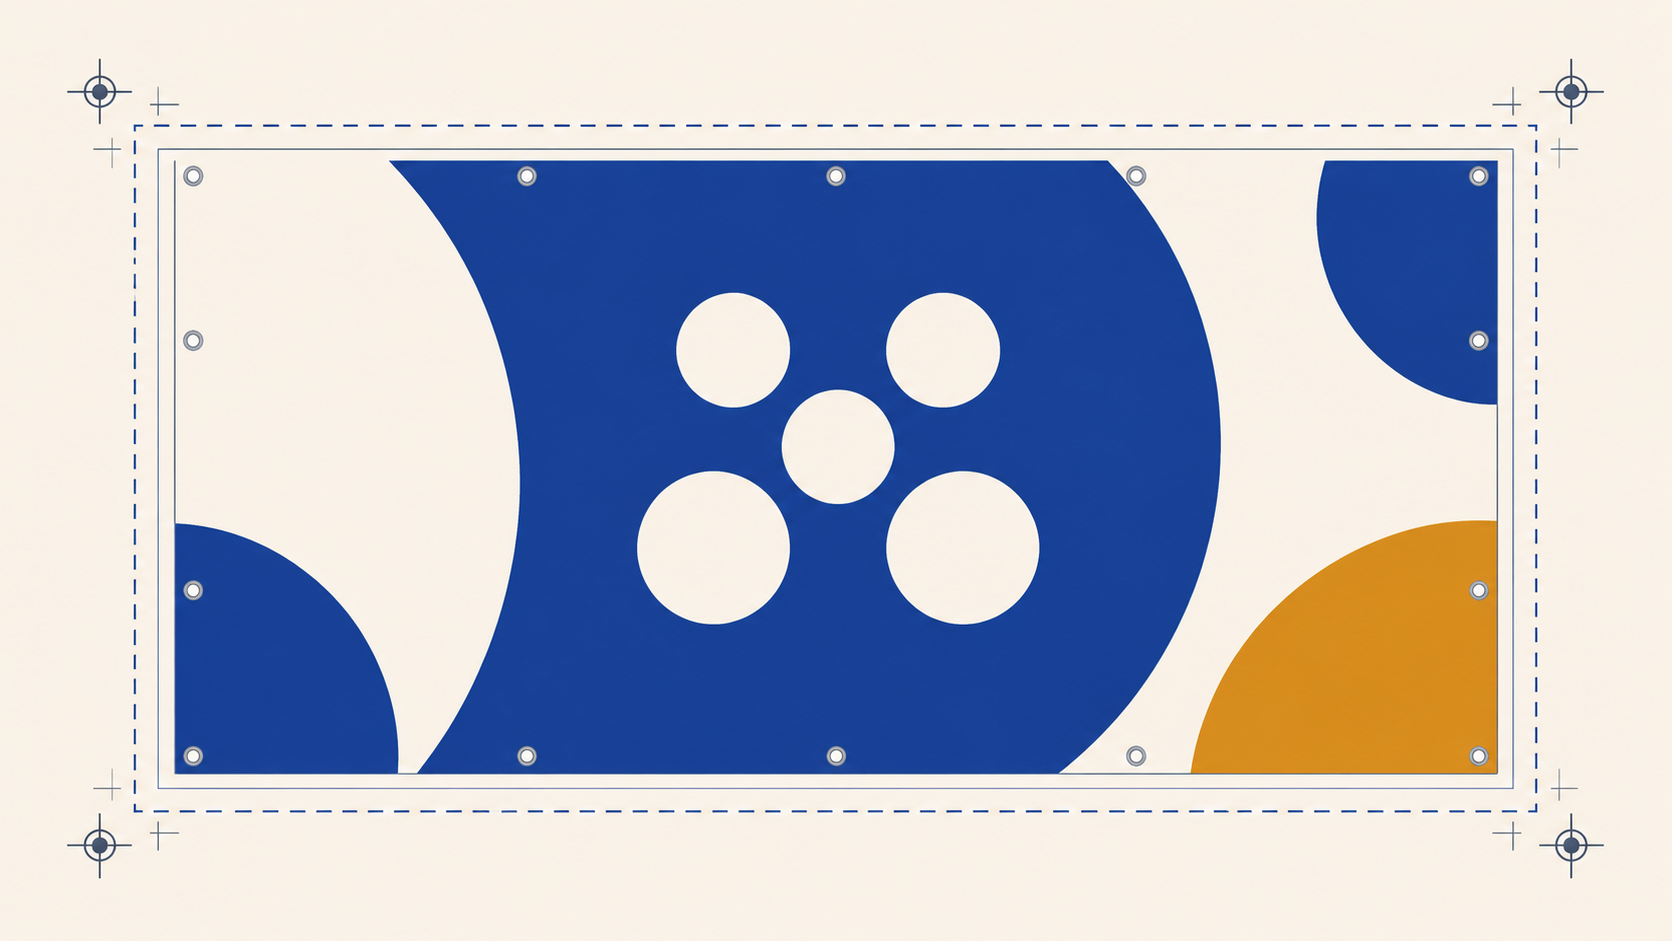
Mesh banners are finished with a sewn hem, so the edge of the material folds over. Extend your background and any edge colour all the way to the edge of the artwork, and add bleed, so the fold does not reveal an unprinted white strip. Do not stop the design short of the edge.
Just as important is the safe area. Keep all critical content, logos, headlines and contact details well inside the edges, away from both the hem and the eyelets. The eyelets are punched through the hem at intervals, so anything placed near the very edge can end up cut by the fold or pierced by an eyelet. Pull the important elements in and give them room. Confirm the exact bleed and safe margin against our template when you order, as it is the single easiest thing to get wrong.
Designing for the perforation
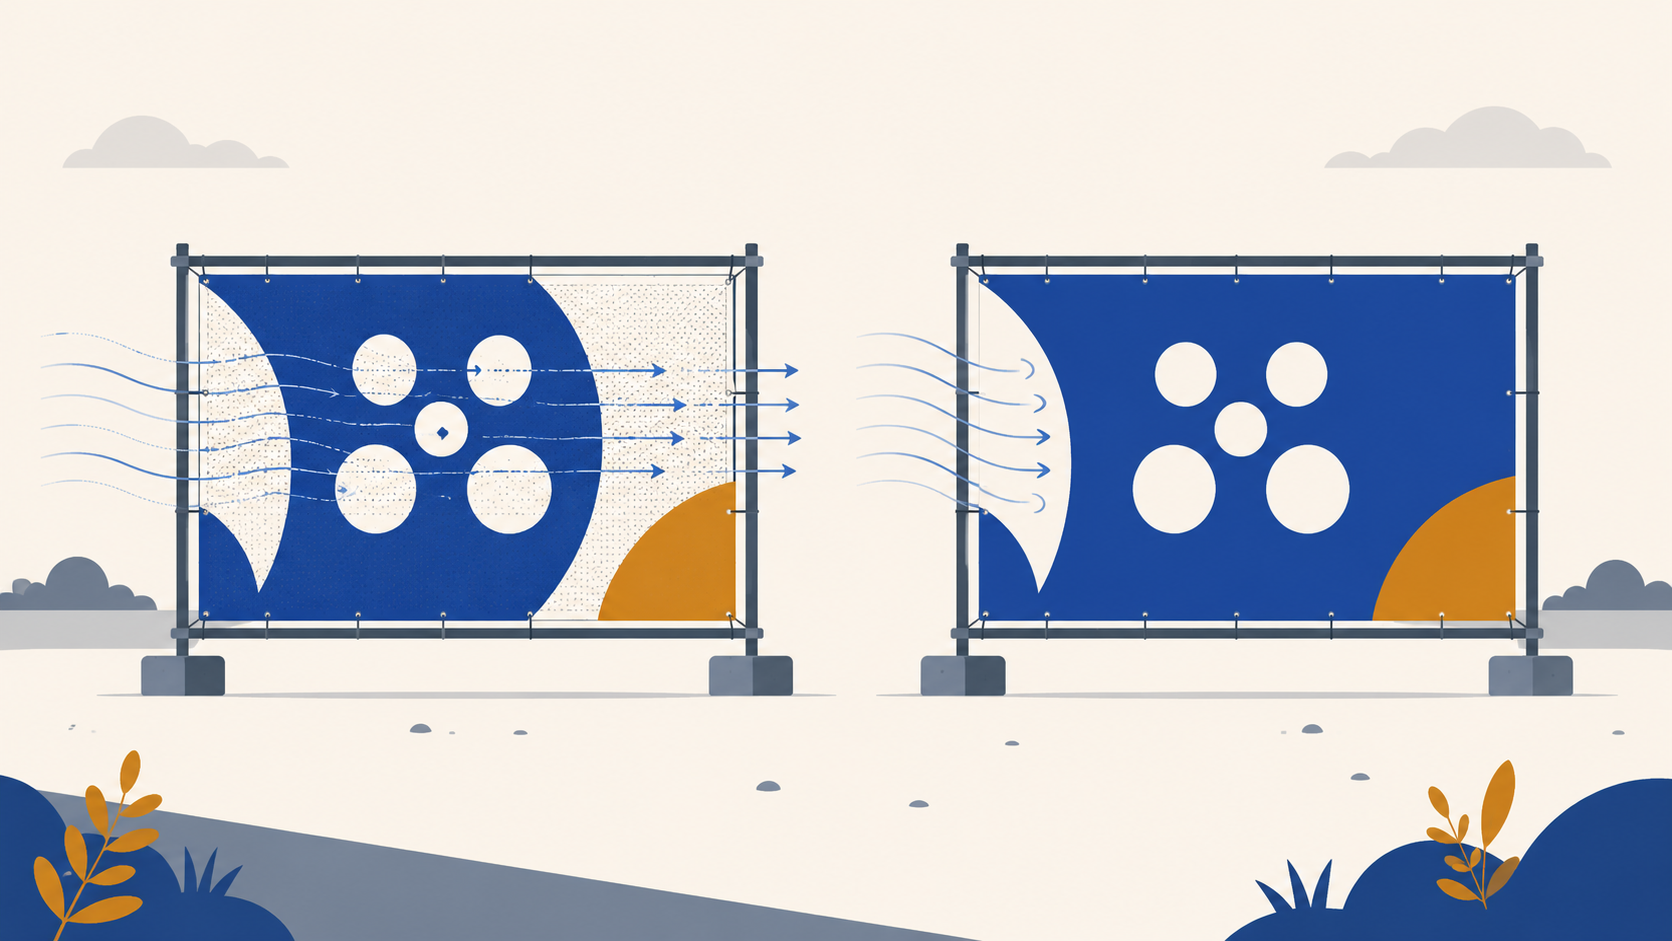
This is the quirk that catches people out. Mesh is perforated, so a portion of the image area is physically open holes. That has three consequences for artwork.
First, fine detail softens. Hairline rules, thin outlines and intricate patterns lose definition because the holes interrupt them. Keep lines and details generous.
Second, small text struggles, and small reversed text struggles most of all. Light text on a dark background sits right on top of the holes and can become hard to read. Keep type bold and large, and avoid fine reversed type.
Third, the image reads slightly softer up close than it would on solid vinyl. At distance this is invisible and mesh looks excellent, but design for how the banner will be seen. If it will be read close up, simplify the detail.
Colour expectations
Design in CMYK and lean on bold, solid colour. Large flat areas of strong colour are what mesh does best and what reads well at distance. Very subtle tonal gradients and delicate colour shifts are less reliable across a perforated surface, so keep the palette confident. If exact brand colour matching matters, flag it when you order so it can be managed.
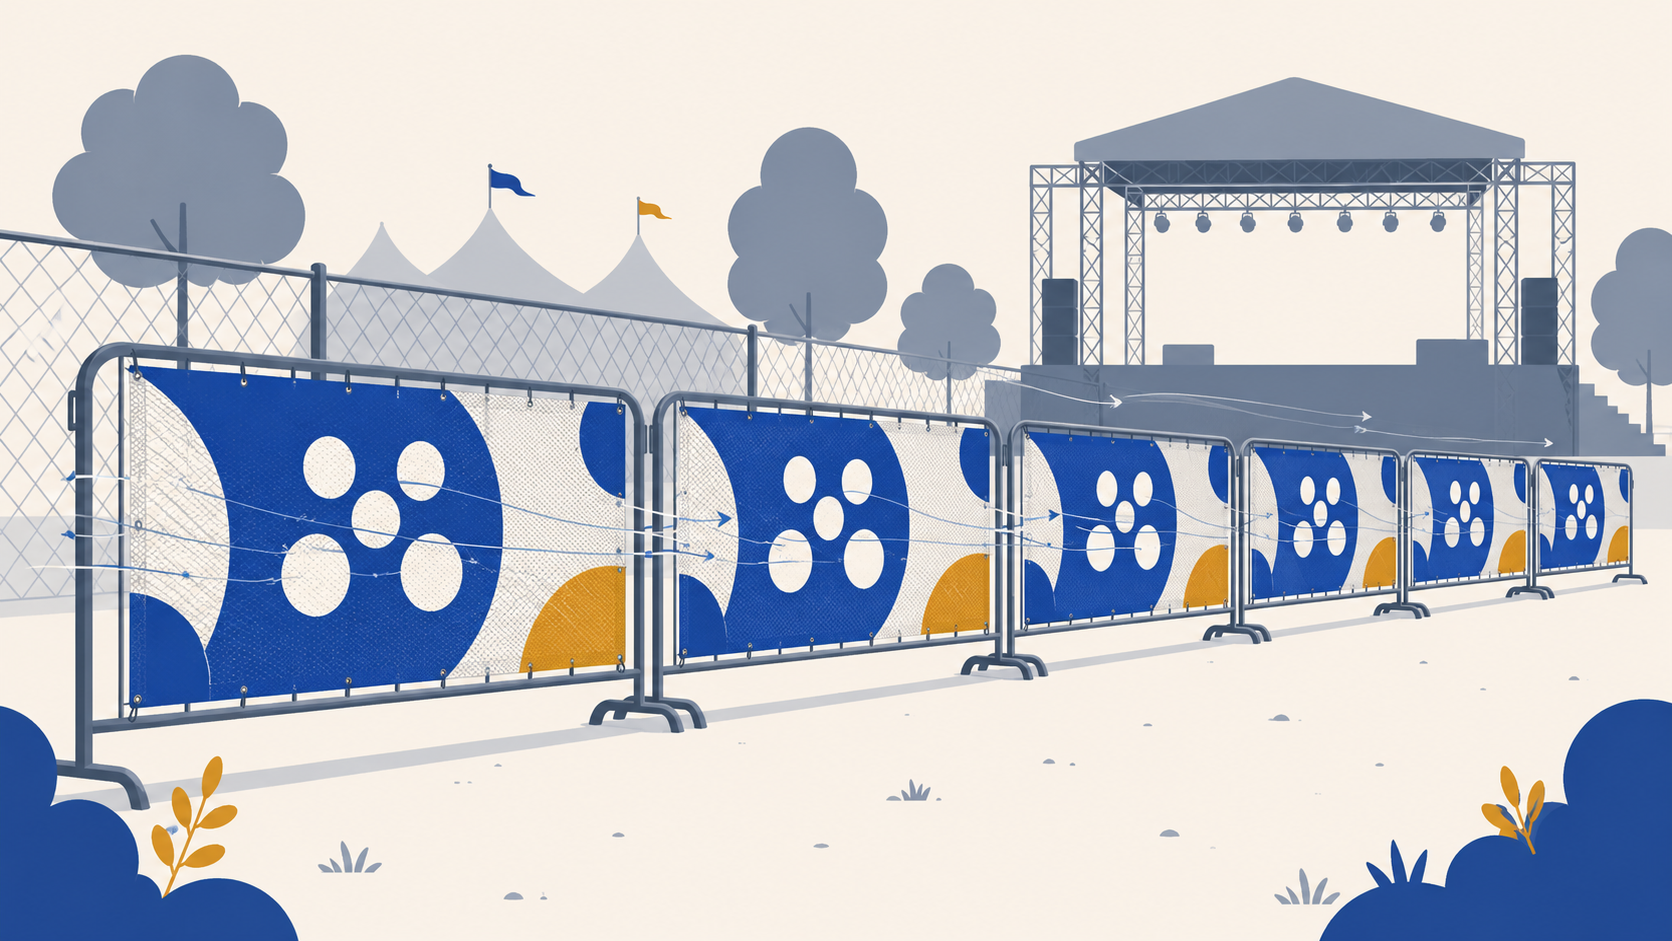
Oversize banners and joins
When a banner is larger than 1800mm on both sides it is built from multiple drops joined side by side. If your job is in that territory, design in panels that match the drop width and keep logos and headlines clear of the join lines, so nothing important lands on a seam. Plan this before you start the layout, not after.
Supplying your file and ordering
Mediapoint is a trade only printer supplying sign shops, resellers and agencies, with blind shipping so the finished banner reaches your client under your own brand. We print trade mesh banners to your supplied artwork, hemmed with plastic eyelets at the spacing you need. To order, set up a trade account here: https://www.mediapoint.com.au/authorization/registration/personal-information. Send us a print ready CMYK PDF built to the finished size with bleed, and we will check it before it goes to print.
Frequently asked questions
What file format should I supply for a mesh banner?
Supply a print ready PDF, built in CMYK and to the finished size of the banner. Outline or embed all fonts, keep artwork as vector where possible, and make sure any placed images are high enough resolution to hold up at banner size.
What resolution does a mesh banner need?
Less than a small format print, because banners are viewed at distance. The practical approach is to design at scale with the document resolution set high enough that the file is sharp when output at full size. Ask for the supply specification before building the file if you are unsure.
Do I need to add bleed to a mesh banner file?
Yes. The banner is finished with a sewn hem that folds over the edge, so extend the background to the edge and add bleed to avoid an unprinted white strip at the fold. Keep all critical content well inside the edges, away from the hem and eyelets.
Why does small text look bad on mesh banners?
Mesh is perforated, so small text, thin lines and fine reversed type sit on top of the holes and lose definition. Keep type bold and large and avoid fine reversed text. Bold, simple artwork is what mesh prints best.
Should I design in RGB or CMYK for a mesh banner?
Design in CMYK. The banner prints in CMYK, so working in RGB means the colours approved on screen will not match the printed result. Lean on bold, solid colour, which is what reads best at distance on a perforated surface.