Setting Up Special Thru-Cut Custom Cut Print and Spot Colours
Looking to order some custom cut print options? Want to ensure artwork is approved and you don’t get delayed by proofing? Jason Xuereb, co-owner and Head of Production, has shared some quick tutorials to show you how to set up your design for hassle-free printing.
Special Thru Cut Custom Cut Print
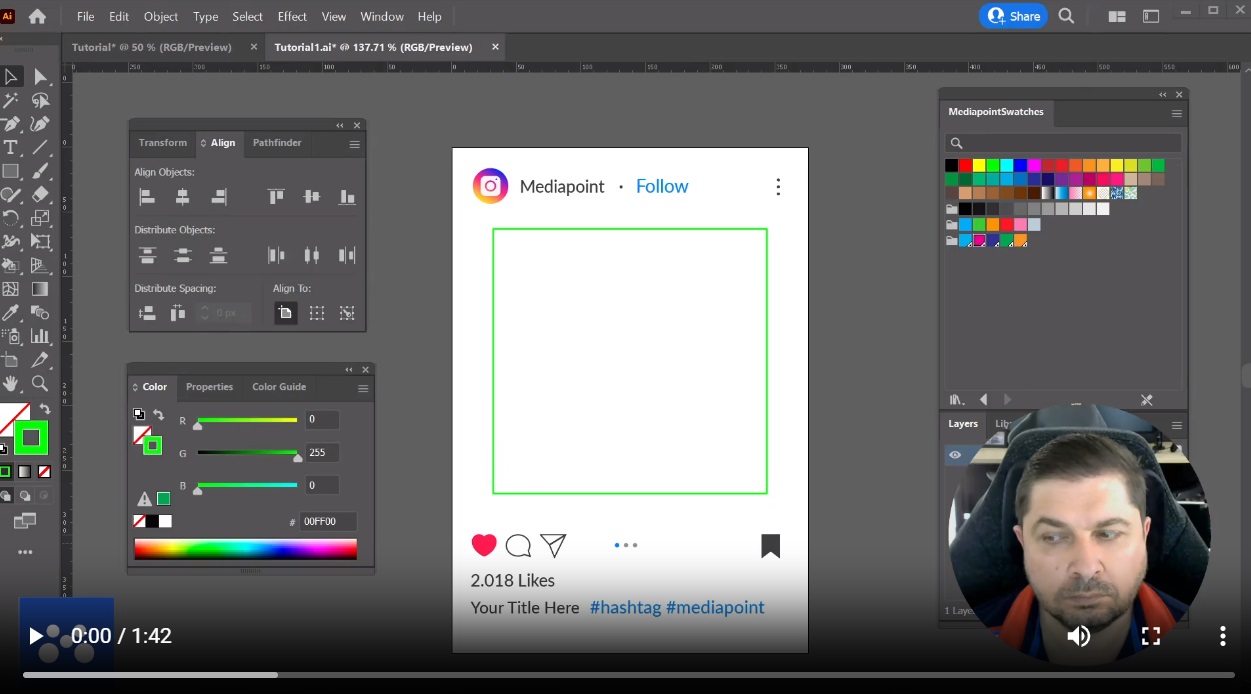
In the example above Jason utilises a ‘selfie frame’, which involves a rectangle cut on the inside and another on the outside.
For simple cut shapes, it’s crucial to include the full cut data in the file, ensuring the complete shape desired for cutting is present, rather than relying on the trim box.
The critical step is to apply a stroke correctly with the name “Thru-cut” set as a spot color. To do this:
- Use a swatch named “Thru cut” which is designated as a spot color.
- Verify in the swatch details that it is indeed a spot color named “Thru-Cut”
- It is important to use the specific naming convention of capital “T,” lowercase “h, r & u.” Followed by “-cut”
In the example, the rectangle on the outside must also have the “Thru-cut” spot colour applied. This is done by selecting the rectangle tool, applying the shape, and ensuring the “Thru-cut” spot color is applied to this outer rectangle as well.
Setting Up Your Spot Colours for Print
Mediapoint uses five main spot colours for different products and printing purposes:
Thru-cut: To cut fully through the media.
Score: To partially cut through the media.
Crease: To use the creasing wheel for creating a fold line.
Hole: To cut small holes using the POT tool.
White: To print white ink on labels.
Custom cut print makes it essential to correctly set up these colours in your artwork. Here’s a step-by-step based on the video above:
- Select and set up the swatches in the design software.
- For setting up a spot colour (e.g., Thru-cut), select any colour, go to the swatches palette, and ensure the name is correctly spelled and the colour type is set to spot.
- The actual colour of the swatch does not matter as it will be removed by the Mediapoint automated production system during pre-press.
- To create the remaining spot colours (score, crease, hole, and white), repeat the process by selecting the new colour, clicking new, typing the specific name, selecting spot, and confirming.
If you’d prefer not to create these spot colours manually, we’ve got you covered. Mediapoint offers a swatch file library on-demand. Just follow these steps:
- Email trade@mediapoint.com.au to request the swatch library.
- Once received, load it into Illustrator by going to the swatch libraries menu, selecting other library, and locating the swatch file.
- This process will make the five spot colours readily available for use in your files.
With these tips in hand, you’ll be able to organise your artwork for seamless custom cut print in no time, saving on double ups, money, and headaches.